Posted on Leave a comment

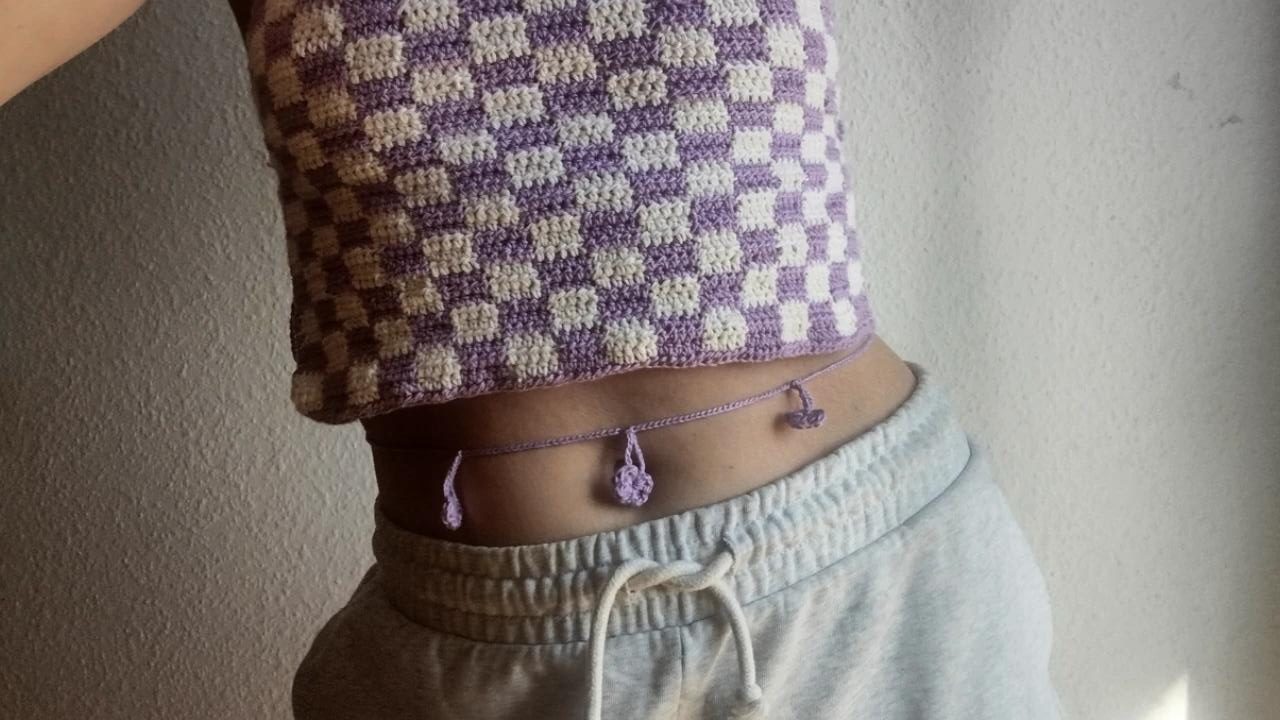
Free crochet pattern: How to crochet a belly chain with flowers

Find the pattern for checkered Etna top here

Here comes a simple and quick crochet project for a belly chain with a tight crocheted string and 3 uniform flowers in the middle. It is tied on the back so you will need your waist measurements. A great project if you have some secondhand yarn or yarn scraps laying around. You can also make a smaller version for a bracelet or necklace, just adjust the circumference measurements.

What you will need:

  • 3 mm hook
  • superfine/fingering yarn in any material you want. Cotton, viscose, wool.
  • scissors and measuring tape
  • slip stitch (ss), chains (ch), double crochet (dc)

Start by taking your waist measurement.

Divide it with 2. Then divide that number with 4. Those are the 2 measurements you will need.
Mine was: 88 cm.
So my 2 measurements are 44 cm and 11 cm.

  1. Start by chaining tightly until you have those 2 measurements put together.
  2. Then tightly chain 10
  3. Loosly chain 4
  4. Make 1 ss in the 4th ch from the hook
  5. Turn your crochet so the long chain is now to your right instead of left and crochet on what would be the bottom side of the ring you made
  6. make *3 dc, 1 ss* into the right
  7. Repeat 4 times = 4 petals.
  8. Tightly chain 10
  9. Ss into the 10th ch from the flower
  10. Tightly chain until you have your 2nd measurement
  11. Repeat the flower again: 10 ch, flower, 10 ch, slip stitch
  12. Do this one more time so you have 3 flowers with the same distance between
  13. Then tightly chain so you have the same measurement as the beginning of the chain.
  14. Break of the yarn
  15. You don’t have to weave in any ends, just tightly pull the ends and cut them off with scissors.

Posted on Leave a comment

Free crochet pattern How to crochet a mirror cover with beads

The free pattern for the hairband can be found here. You can find more crochet accessory patterns here

What you will need:

  • a mini pocket mirror
  • 3 mm crochet hook
  • size 1/superfine cotton 50 g = 170 m
  • approx 20 beads and a bead needle
  • cardboard and some super glue

Let’s get into it!

  1. Start by cutting a piece of cardboard to the size of the mirror + a few mm for an extra edge (so you won’t cut yourself on the edge of the mirror)
  2. Glue it to the back of the mirror
  3. Make 4 chains, slip stitch into the 4th ch from the hook, ch 1
  4. Make 8 sc into the hole
  5. Continue in the same direction and make 2 sc in every stitch (use your yarn end as a guide to where your round stops/starts)
  6. Next round: 1 sc in the first, 2 in the next
  7. Next round: make 8 increase spread out randomly
  8. Continue until you have 6 rounds or until (when you stretch the circle) it fits onto the back of the mirror
  9. Now start by decreasing: make 8 decreases on the round – randomly (by crochetiing 2 stitches together into one)
  10. Do the same on the next round.
  11. Now break of the yarn but leave a long yarn end – weave beads onto the yarn and turn over your work and insert the mirror into the circle
  12. Crochet again 8 decreases on this last round, but also add 1-2 beads on every stitch by bringing the bead up to your hook just before you bring the yarn over on the last time of the stitch. Finish with 1 11 in the first stitch in the round and weve the yarn into the mirror and just hide in inside the back – do the same with the first yarn end you have
  13. And now you can finish off by adjusting the crochet to the mirror – stretch and pull as needed or push the crochet a bit away from the mirror and then put glue on 4 places under the crochet and on the mirror – along the edge, and glue it in place. This way you can adjust if you want the crochet to cover more/less of the mirror.
Posted on Leave a comment

Free crochet pattern how to crochet a basket bag in wool

I wanted to make a crochet version of one my favourite bags which is a 70s style straw bag with a leather strap. You could also make this version with a leather strap or even just make the strap longer so you can wear it on your shoulder. If you know how to sew I would recommend adding a zipper in or even just use a magnet inside it, so you can close it up. Another trick is to sew the top of a bucket bag inside the opening so you can close it with a drawstring inside the bag, and therefore the fabric and drawstring won’t be visible from the outside. But you can also leave it as it is and use it as a handbag, beach bag or grocery bag. This bag reminds me a lot of a Jeanne Damas (Rouje founder) bag, I could totally see her with this bag. I like that it’s simple and casual, and you can use it with a causal outfit too but it also works with a more dressed up look, cause then it will just tone down the outfit a bit.

What you will need:

  • 4,5 mm hook (but please test with your yarn, cause we want a sturdy and compact texture, and still for the crocheting to be comfortable and not strain our hands and wrists (so a comfortable, yet tight tension is prefered)
  • 275 g/275 m super bulky wool yarn (in one or more colors) – i used greige/beige and light brown
  • a needle for the loose ends
  • chain, slip stitch, single crochet and half double crochet

How to crochet the bag:

The bag is increased intuitively, so make sure to just spread out the increases (making 2 stitches in one stitch) and don’t make an increase directly on top of the last increase on the round before (this is only ok in the beginning, cause later it will prevent the bag from being round). Crochet in the same direction – no end or beginning (but you can mark your beginning of the row so you know where and when to increase) and you crochet from the bottom and up.

  • chain 4, ss in the 4th ch from the hook, ch 1
  • make 8 sc in the ring – continue in the same direction
  • 2 sc in every stitch = 16 stitches
  • increase with 8 for the next 5 rounds
  • for the next 7 rows remove 1 increase per round: so 7, 6, 5, 4, 3, 2, 1, increases per row.
  • now make one sc in every stitch for the rest of the bag (37 rounds in total)
  • during these no-increase rounds, you may want to make stripes
  • My stripe patterns goes as follows: 17 beige, 2 brown, 6 beige, 3 brown, 7 beige, 2 brown – but you can mix it up and make your own random combination
  • finish the round with 1 ss in the next stitch, brerak off and weave in the yarn end.

How I change yarn color: at the end of your round (where you marked your round), while making the last sc in the round, before pulling the yarn through the last time, grab the color you want to change to and pull it through – leaving the main color on the back of the round. When I return to the beginning I switch by doing the exact same thing, before pulling through the yarn on my last sc in the round I pull in the main color. Here I break off the brown because I have a bigger space between the brown colors, but if you change color often, you can just leave it on the inside of the bag and bring them up to you, when you switch color.

How to crochet the strap:

Make 5 chains (in brown) make 1 hdc un the 2nd ch from the hook, 1 hdc in the next three chains, chain 1 and turn. Crochet 1 hdc in every stitch for approx 36 rows, break off but leave a yarn end. Make one more strap, sew them on approx 7 stitches frrom the edge of the bag with approx 20 stitches between each strap and approx 2-3 rows of the strap attached onto the front of the bag. Sew up and down through the edge of the strap (you can imagine that you sew the strap edge like a square – top, bottom and the two sides. Do the same with the other strap on the opposite side and weave in all the ends.

If you want to make sure it holds its shape you can block it using universal glue and water and leave it to dry overnight. You can also try and make it even bigger and then felt it by washing it on high and drying it flat.

Posted on Leave a comment

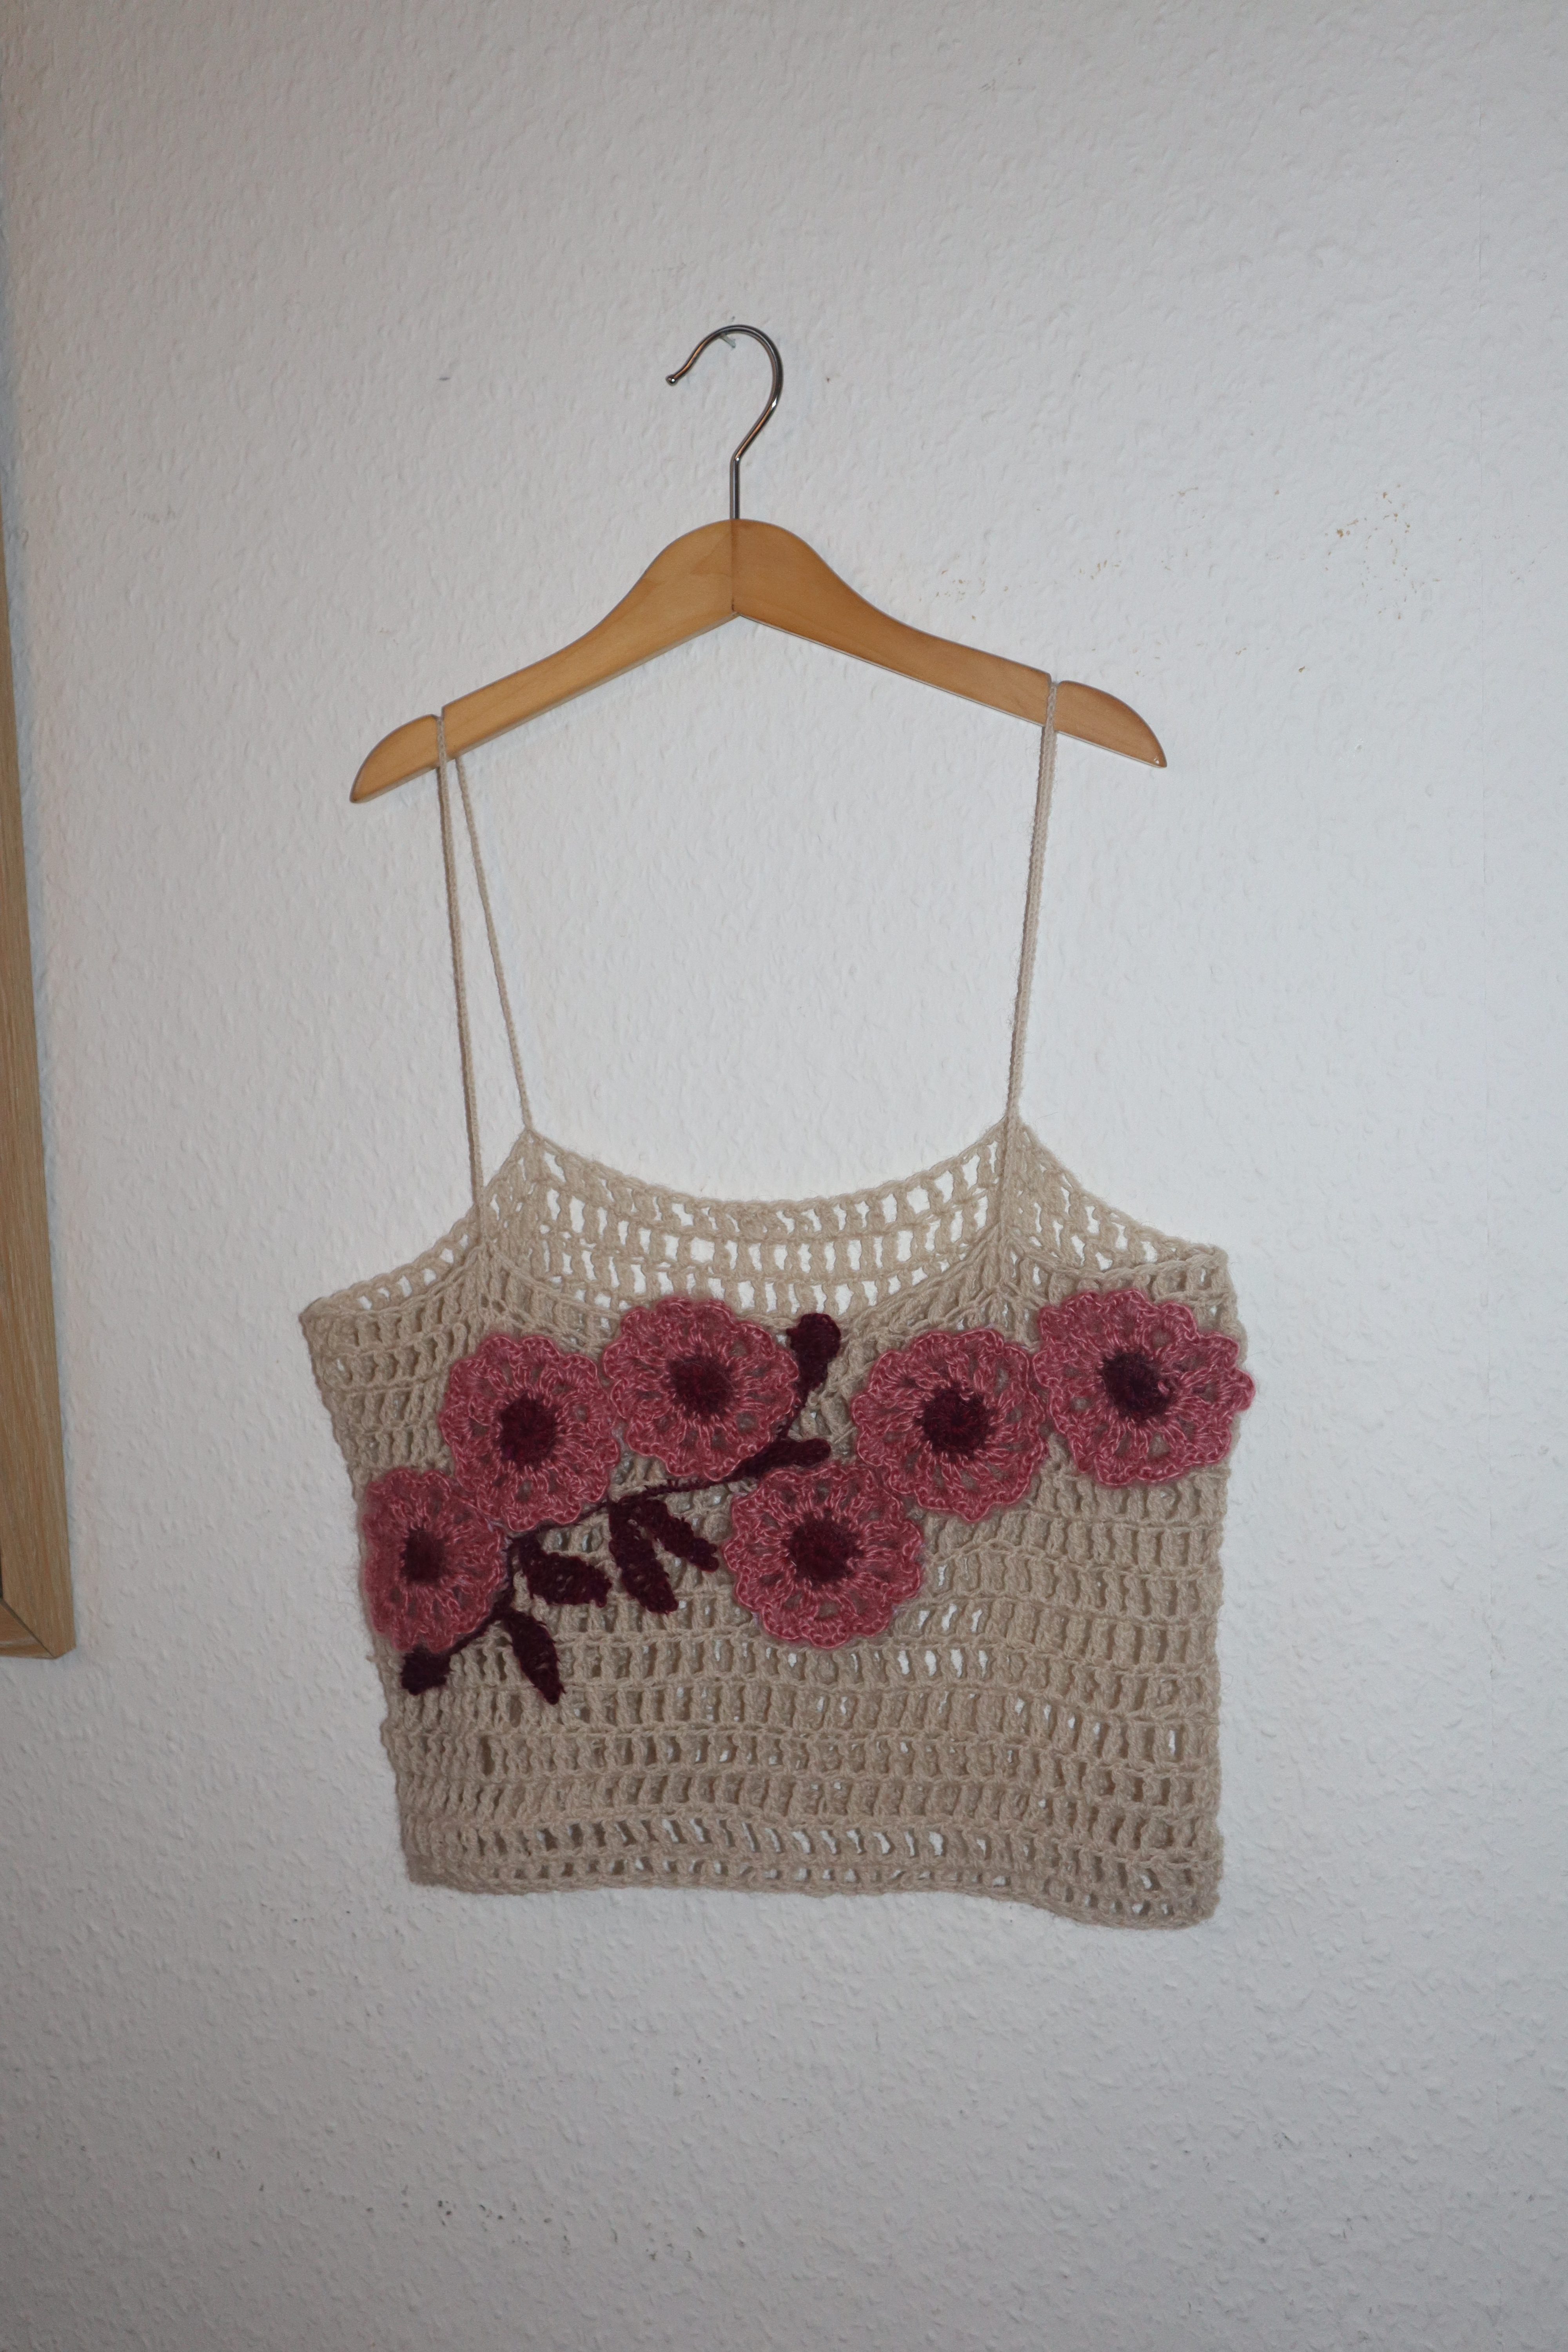
Free crochet pattern how to crochet a rose in 4 steps + top guide

Use this crochet flower as it is – or add it to crochet clothes or sew together to a bag, blanket etc..

Hook: 3 mm
Yarn: Superfine/lace wool, approx. size: 50 g = 200 m
Stitches: double crochet (dc), single crochet (sc), chains (ch), slip stitch (ss)

  1. Chain 4, connect to a ring with 1 ss in the 4th ch from hook, chain 2. Make 12 dc in the ring (crochet around the yarn end so you don’t need to weave it in in the end). 1 ss in the 1st dc in the round, ch 3, turn. Switch color now, if you’d like.
  2. 1 ss in the first dc, ch 3, 1 ss in the next dc etc. – finish with 1 ss around the first arch = 12 arches, ch 1, turn
  3. 1 ss in the first arch. Ch 2, 2 dc in the same arch, ch 3, 2 dc in the next arch, ch 3, 2 dc in the next etc. – finish with 3 ch and 1 ss in the first dc, ch 1
  4. Continue in the same direction: 1 sc in the same stitch (first dc), then in the next arch make: 1 hdc, 3 dc, 1 hdc – repeat and end the round and flower with: 1 ss in the first sc. Break off and weave in the ends.

Cotton vs wool (using same pattern and same hook):

Video guide:

If you want to make this top:

Use superfine wool, 4,5 mm hook. Start with chainless foundation in treble crochet. Stretch and measure on your body. I made 74 stitches, connect in a round, ch 3 everytime you turn and make 1 treble in each stitch. At the end (when you have the length you want – I used 1 yarn ball of 50 g) you break off and tightly chain from about 1/4 of the way into the top, until it can get over your shoulder, slip stitch to the back.

When you attach the flowers you can sew or crochet, I sewed them on. Place them where you want with pins while you wear the top. You then sew only the back of the flowers onto the top. So this would be either into the back loop of the stitches or into the middle of the dc/sc stitch. Only crochet on the back, not all the way through to the front.

I made sure to not sew all the way around each flower but instead only sew on half and then continue to the next flower and so on, because then when I reached the end I could do the other half of all the flowers.

If you want to make the leaves use same yarn and hook: chain 11. make in the following stitches: 1 sc, 1 hdc, ,1 dc, 4 tr, 1 dc, 1 hdc, 1 sc. 1 ss in the 1st sc. Chain 11 tightly. Now you can make one more leaf. If you want 2 leaves next to each other just chain immediately after making a leaf, then make 1 ss in the 1st sc on the first leaf to connect them.

Sew them by sewing into the edge all the way up on both sides of the leaf and down and by sewing stitches around the 11 chains you make – the chains are so small it’s hard to sew through them (and not necessary).

Posted on Leave a comment

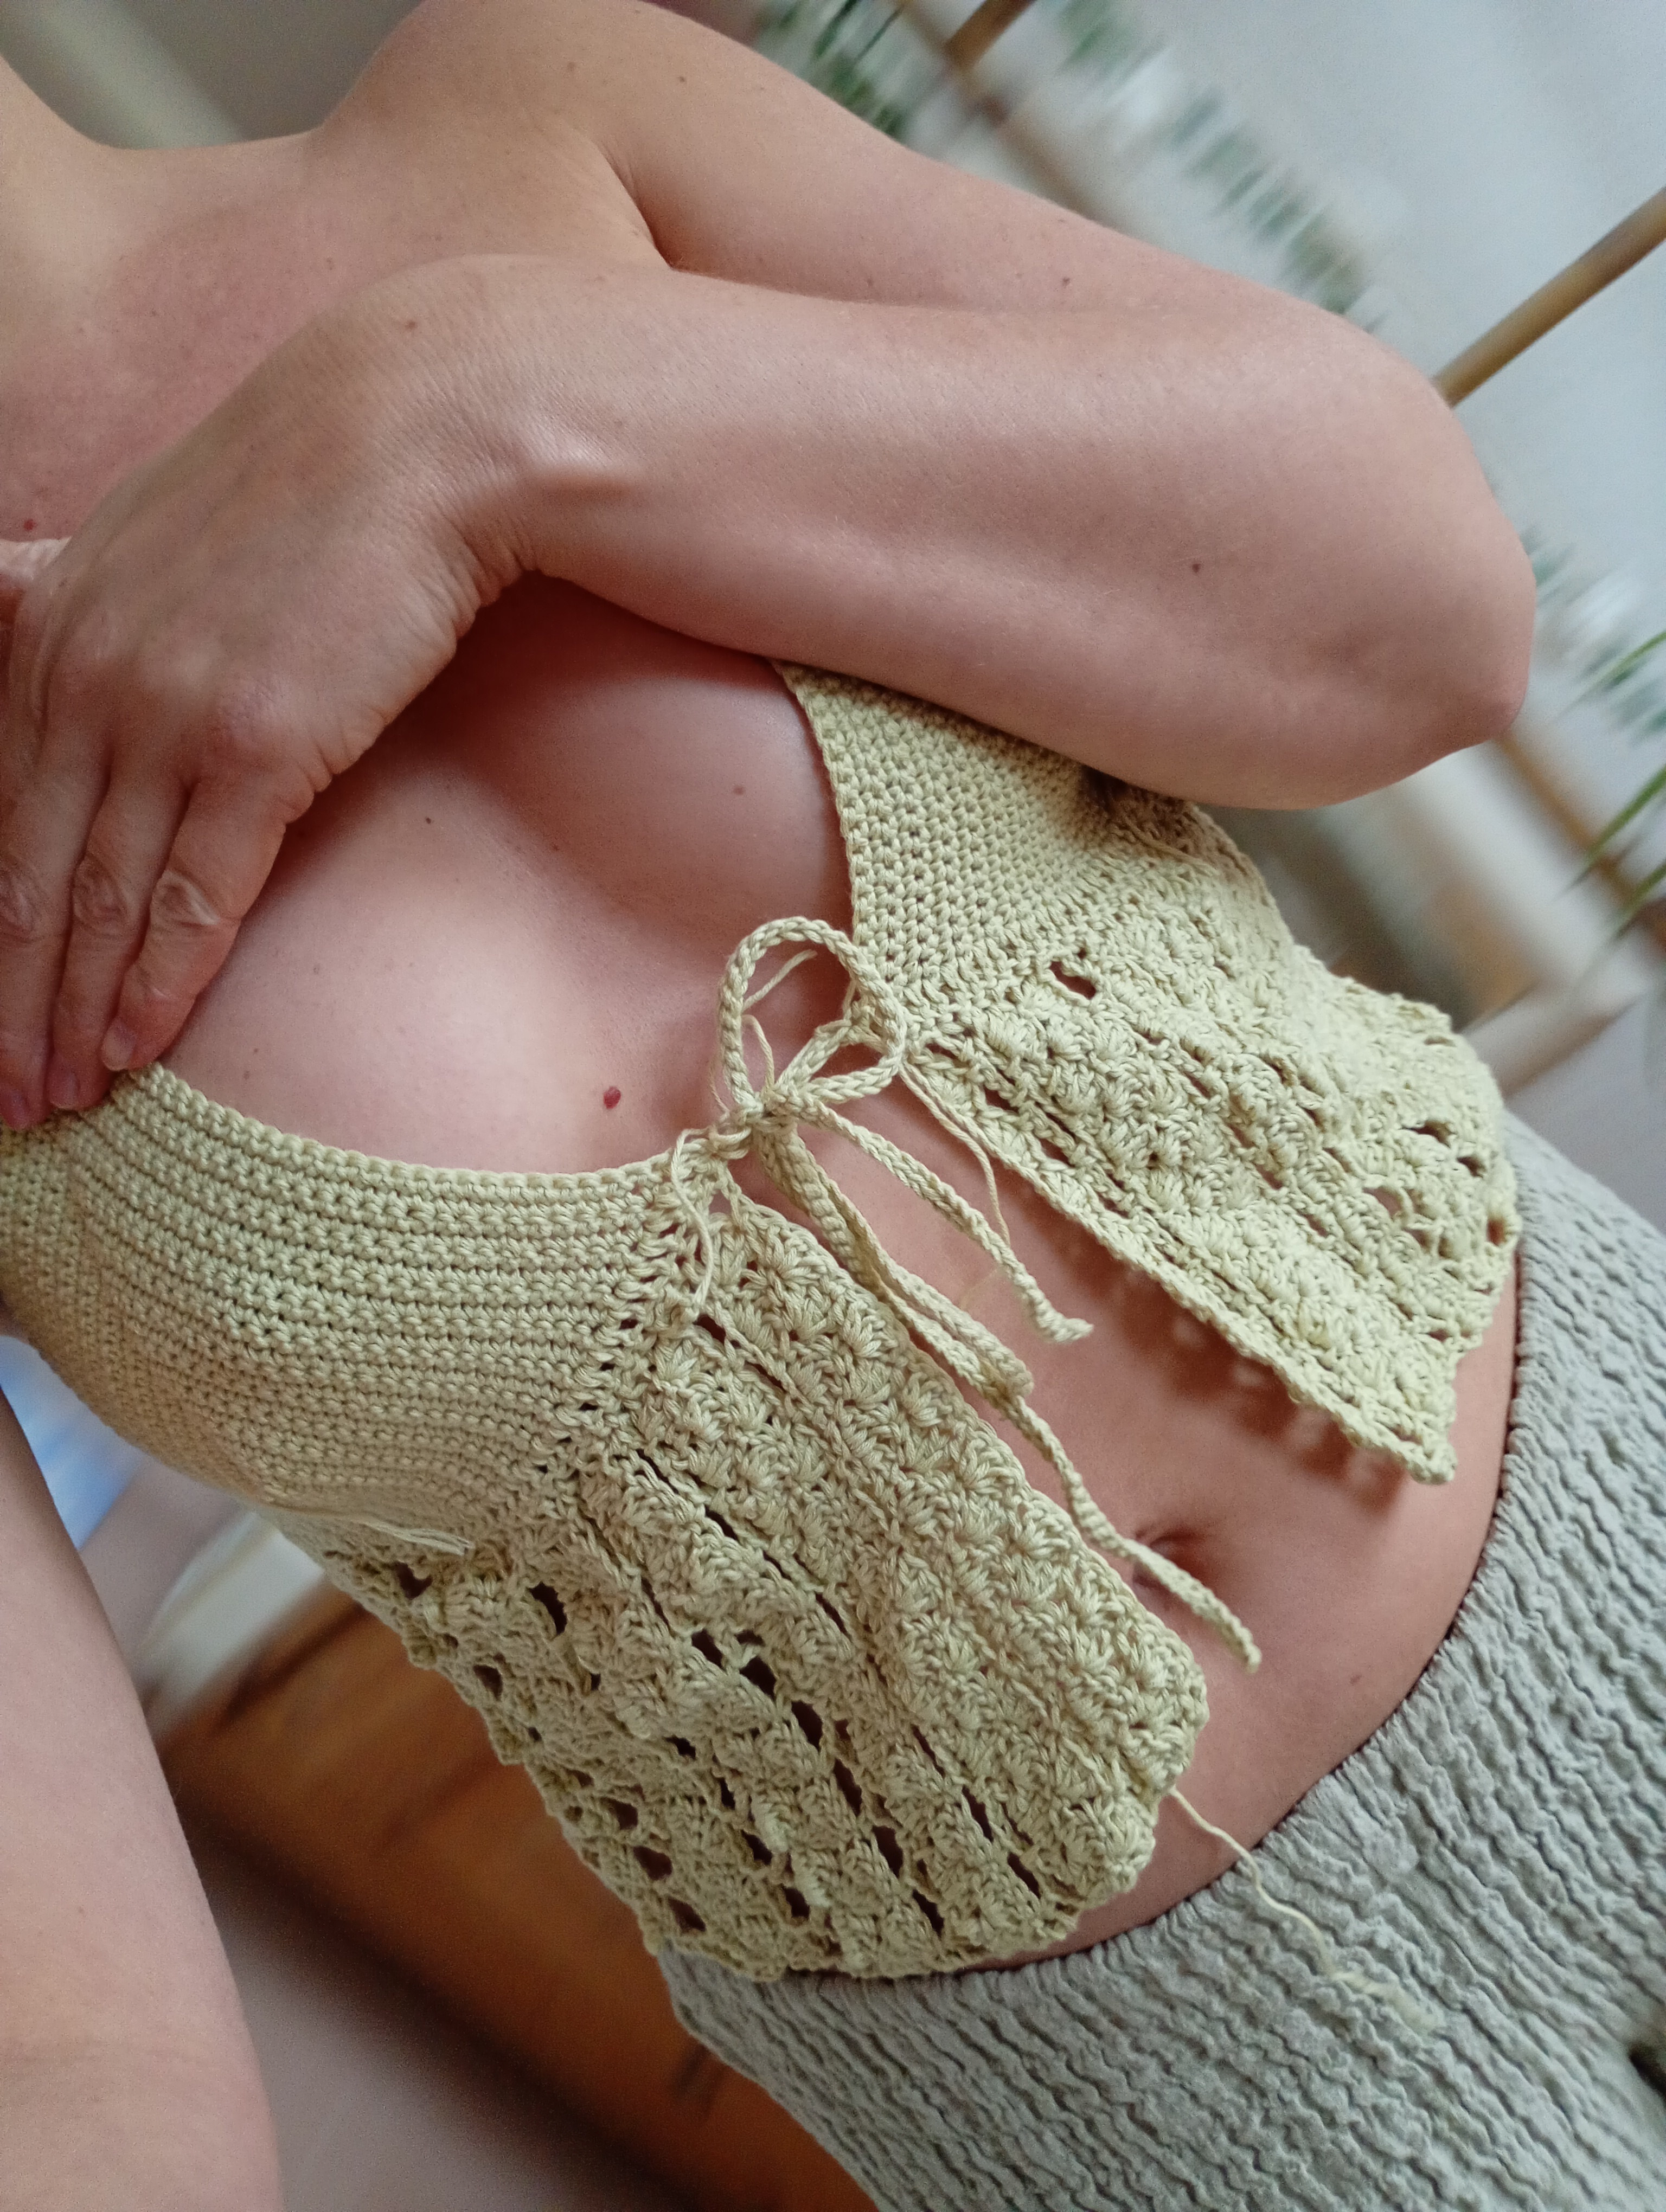
How to crochet split front bra cup top with lace stitch

Yarn: Superfine cotton. 50 g = 160 m
Hook: 3 mm
Stitch: Shell stich (3 dc, 1 sc), dc + dc in chainless foundation, sc, slip stitch, chains.

  1. Use the free bra cup pattern and make 2 bra cups. After finishing the second one, don’t break off. Now onto the body.
  2. Make 1 dc into every hole on the bottom bra cup edge (between 2 sc rows), then make approx the same amount as a chainless foundation in dc (make sure to stretch and measure on your back)
    I had 44 dc on the bra cup, 44 on the back, 44 on the other bra cup. Continue with dc on the other bra cup.
  3. Stop at the edge and start to chain for the length.
  4. Chain and stretch the chain to see how long you want it. I made 54 chains. Make a number that can be divided with 6.
  5. Chain 3 (turning chains), make the first 3 dc in the 4th ch from the hook. 1 sc in the 3rd chain from the hook, 3 dc in the next ch, 1 sc in the 3. ch etc.
  6. Every shell stitch row is finished by slip stitching into 3 stitches on the bra cup, ch 2 and turn.
  7. 3 dc in sc, 1 sc in the 2nd dc in the shell. If you finish with 1 sc, chain, turn and make 3 dc in the sc, 1 sc in the middle of the next shell. If you finish with 3 dc, chain and turn and make 1 sc in the middle of the first shell, 3 dc in the next sc, etc.
  8. Make as many rows as you like, then switch to chains. Always make at least 2 rows with chains.
  9. Make 3 chains, 1 sc in the sc etc. Ch 3 and turn over, 1 sc around the first chained arch, 3 ch, 1 sc around the next arch. etc. You can make sure you make the same number of arches by counting how many you have, sometimes you might have to make one more arch before slip stitching to the bra cup. Always end a chained row at the bra cup by making 1 slip stitch, chain for the next arch and turn over. Make sure to count the number of arches so you make sure to make the same amount on every chained row, sometimes you might have to add an extra arch at the end/beginning.
  10. When you switch back to shell stitch you crochet around the arch and into the sc. 3 dc around the arch, 1 sc in the sc.
  11. Alternate between chained rows and shell stitch and every set of chained rows you make an increase by making 1 extra chain. So 4 chains, 1 sc for two rows, back to shell stitch row(s), next set, 5 chains, 1 sc etc. You do this until you make 8 chains, then you continue to chain 8 everytime you make chained rows. Mark where on the top you made the 7 chains, so that when you reach the opposite side of the top you can start to make less chains in the same spot.
  12. I made a random mix of 2 chained rows and alternating between 1, 2, 3 4, 5 rows of shell stitch. You can look at what you have crocheted and ask yourself: what would look good here: more coverage or more holes?
  13. Once you reach the back you will start to slip stitch into 4 stitches on the bra cup after every shell stitch row. When you make 8 chains in your chained row you finish by slip stitching into 2 stitches on the bra cup.
  14. When you have crocheted on the other bra cup as well you can stop at the corner and chain 80, then slip stitch back to make a strap. Break off an do the same on the other side.
  15. Now crochet 1 sc into each of the 3 sc on the top of the bra cup for a strap. Crochet back and forth until you have enough to reach to the back. Stretch the strap. I had 60 rows.
  16. Slip stitch onto the back and try on. Make more or less rows if needed. I slip stitched mine onto the 17th, 18th and 19th stitch from the armpit.
  17. Crochet on the side of the strap and on the side of the bra cups (the inside). Make shell stitch rows and chained rows (with 6 chains). In order to create ruffle you don’t skip any stitches. Every hole (between 2 sc rows) count as 1 stitch. Make 3 dc in the first stitch, 1 sc in the next, etc. Chain and turn, when you reach the back, slip stitch onto 3 stitches on the back, ch and turn. Chained rows are made like before: 6 chains, 1 sc in the sc, 6 chains, 1 sc in the sc. I made 3 shell stitch rows and 1 chained row. At the bra cup corner where the ties are you don’t slip stitch the side of the ruffles anywhere, cause this is where the front split is.
  18. Break off and make the other strap.

Video on how to crochet the body of the top:

Posted on Leave a comment

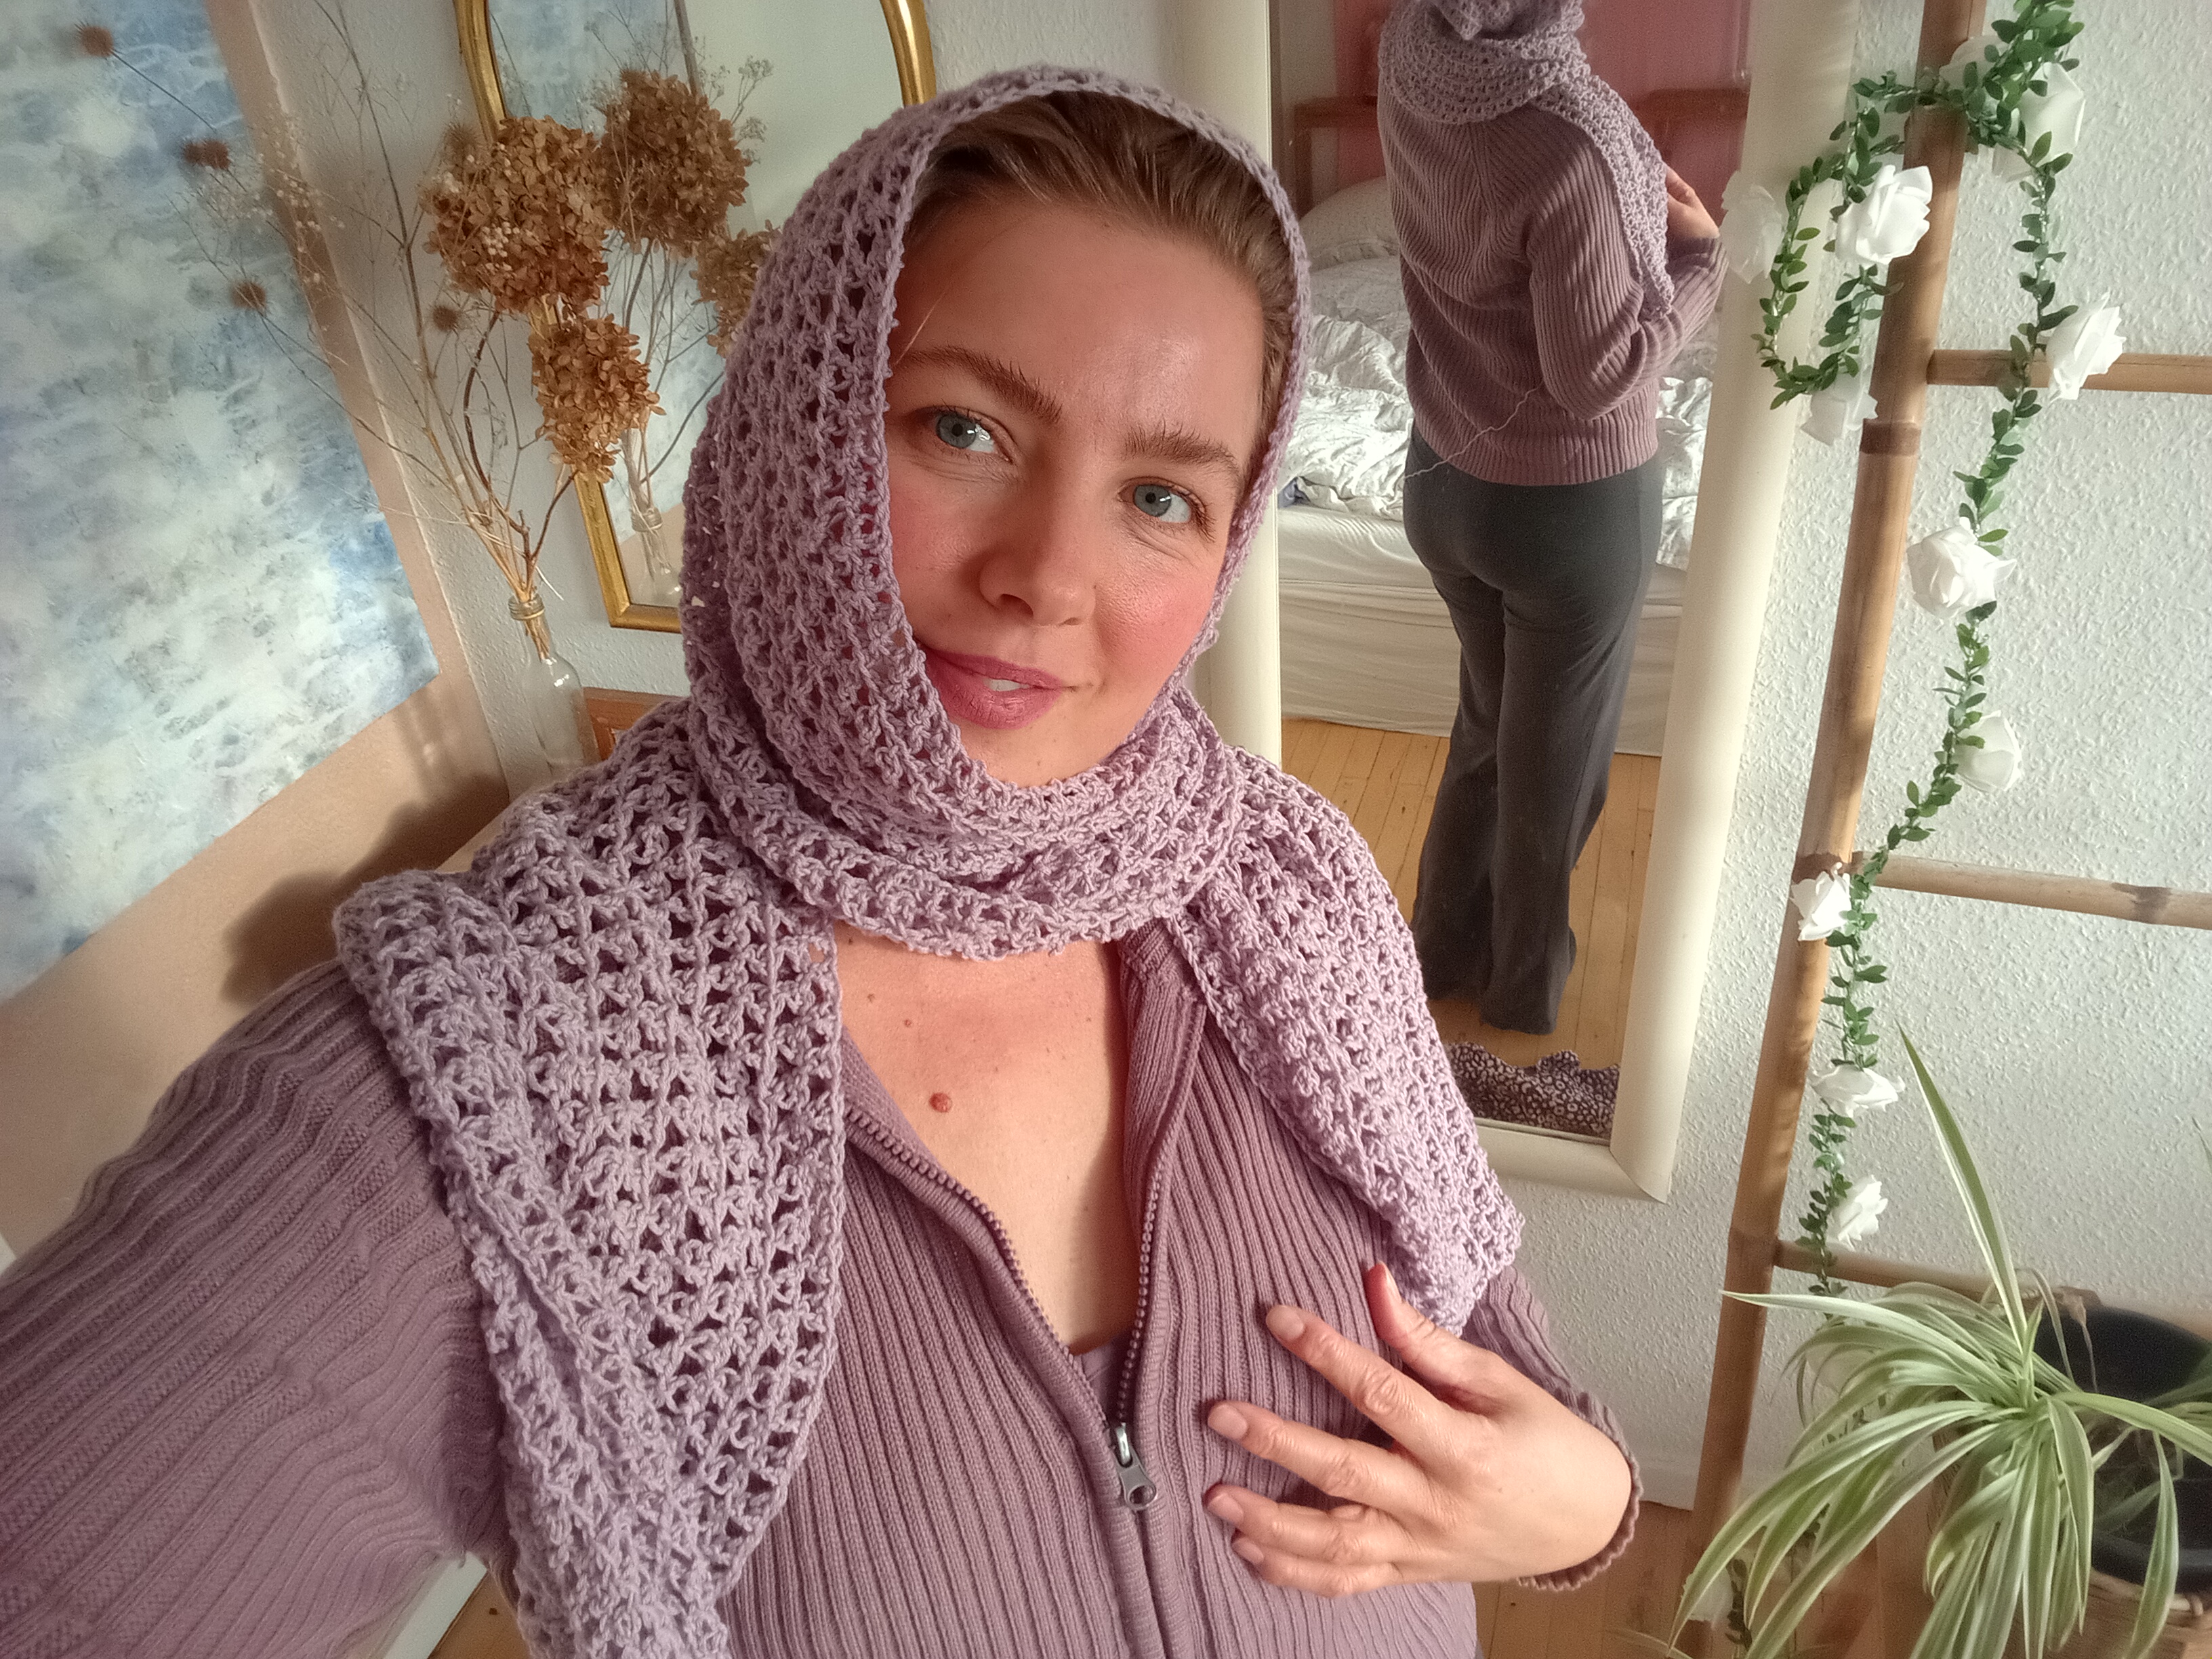
Free pattern How to crochet long mesh scarf crochet shawl with unique mesh stitch

If you are able to, you can donate small or big amounts to say thanks for the pattern, this way I can continue to share free patterns:

Yarn: Wool & cotton mix. 200 g. Size: Superfine, 50 g = 212 m
Hook: 4,5 mm
Stitch: Ternion stitch (made in 1 loop (front/back) of the chain from the row before) 1 ternion = *1 dc, 1 sc, 1 ch*
Tension: 10 cm = 8 ternion stitches x 8 rows
(crochet relatively loosely for a beautiful and soft drape)
Size: One size. 194 cm x 33 cm (non-stretched)

  1. Make 274 chains, loosely.
  2. Make the first ternion stitch in the 3rd ch from hook, skip a chain and crochet into the next, finishing with 1 ternion in the last ch, turn
  3. Make first ternion in the last ch of the row before only through 1 loop, next ternion in next ch etc and make the last ternion through both loops in the chain
  4. Make approx. 31 rows, 33 cm or 4 yarn balls.
  5. Break of the yarn and weave in the ends.

Use as crochet scarf, head scarf, shawl or wrap.

Posted on Leave a comment

Free crochet pattern how to crochet ribbed wristwarmers Easy crochet pattern for beginners

If you are able to, you can donate small or big amounts to say thanks for the pattern, this way I can continue to share free patterns:

Hook: 4 mm
Yarn: 60 g of sport/fine, wool/viscose, approx. 50 g = 140 m.
Stitches: single crochet in back loop

Make 52 hdc in chainless foundation, ch 1 (turning chain)
Make 1 sc in every stitch in the back loop until you have 50 rows, always turning over with 1 chain, crocheting the first stitch in the last stitch of the previous row – then fold in half on the long end.
Slip stitch through the back loops on every stitch. Break off.

Make another on like it and weave in the ends.

Get the rib top pattern here

Posted on Leave a comment

Free crochet pattern How to crochet high-waisted ribbed crochet pants

See more free crochet patterns here

If you are able to, you can donate small or big amounts to say thanks for the pattern, this way I can continue to share free patterns:

WHAT IS IT
A crochet pattern for a pair of cropped, ribbed and simple crochet pants with elastic waist.
There is less fabric around the waist area to create a smoother look. From the hip down the leg is straight. You can stop connecting the sides to create side slits. Always measure your first row against your body. And measure as you go.

When you measure your full length (“measurement 1”) you need to measure from waist to ankle. If you want a regular length you will need to add approx. 5 cm.

The pattern follows measurements and has a process photo showing how the panels look individually and how they are put together.

The pants are made in 4 panels and then sewn or crocheted together at the end. The back is bigger than the front, if your waist is bigger than or more close to to your hip measurement, I suggest you make the Daphne pants instead – which are straight.

MATERIAL
Elastic band. 3 cm wide. Measuring your waist minus about 5 cm.
3 mm hook
Cotton/bamboo blend
Size 2/sport/baby
Yardage: 50 g = 118 m.

I used 1400 m (593 g) for my size “medium” (length: 79 cm, hip: 104 cm). Add/remove 117 m (75 g) for each size (4 cm in circumference, 2 cm in length) going up/down.

Posted on Leave a comment

Free crochet pattern How to crochet bra cup top with diamond shaped straps

See more free crochet patterns here

If you are able to, you can donate small or big amounts to say thanks for the pattern, this way I can continue to share free patterns:

WHAT IS IT
A crochet pattern on how to crochet a top with triangle bra cups and straps tied on the back – either crossed or open.
You will recieve the whole written pattern + a video tutorial (13 min, with English voice over) showing the whole process from beginning to end. So this is great for beginners too.

If you want to learn more about how to make your own design, this will also help you in showing you how to measure for your design.

MATERIAL
3 mm hook
Cotton yarn, size 1 (superfine), Brand: Mayflower (affiliate)
70 grams for my size “small” (lilac top) – what is equivalent to size B-cup and 70 cm in waist. (The striped top is equivalent to a C cup).

Add/subtract 25 grams for each size (4 cm in circumference, 2 cm in length) going up/down.

SIZE
The top is made after measurements. You will be guided in how and where to measure and how to use the measurement in the pattern. It’s very easy and straight-forward.

Posted on 1 Comment

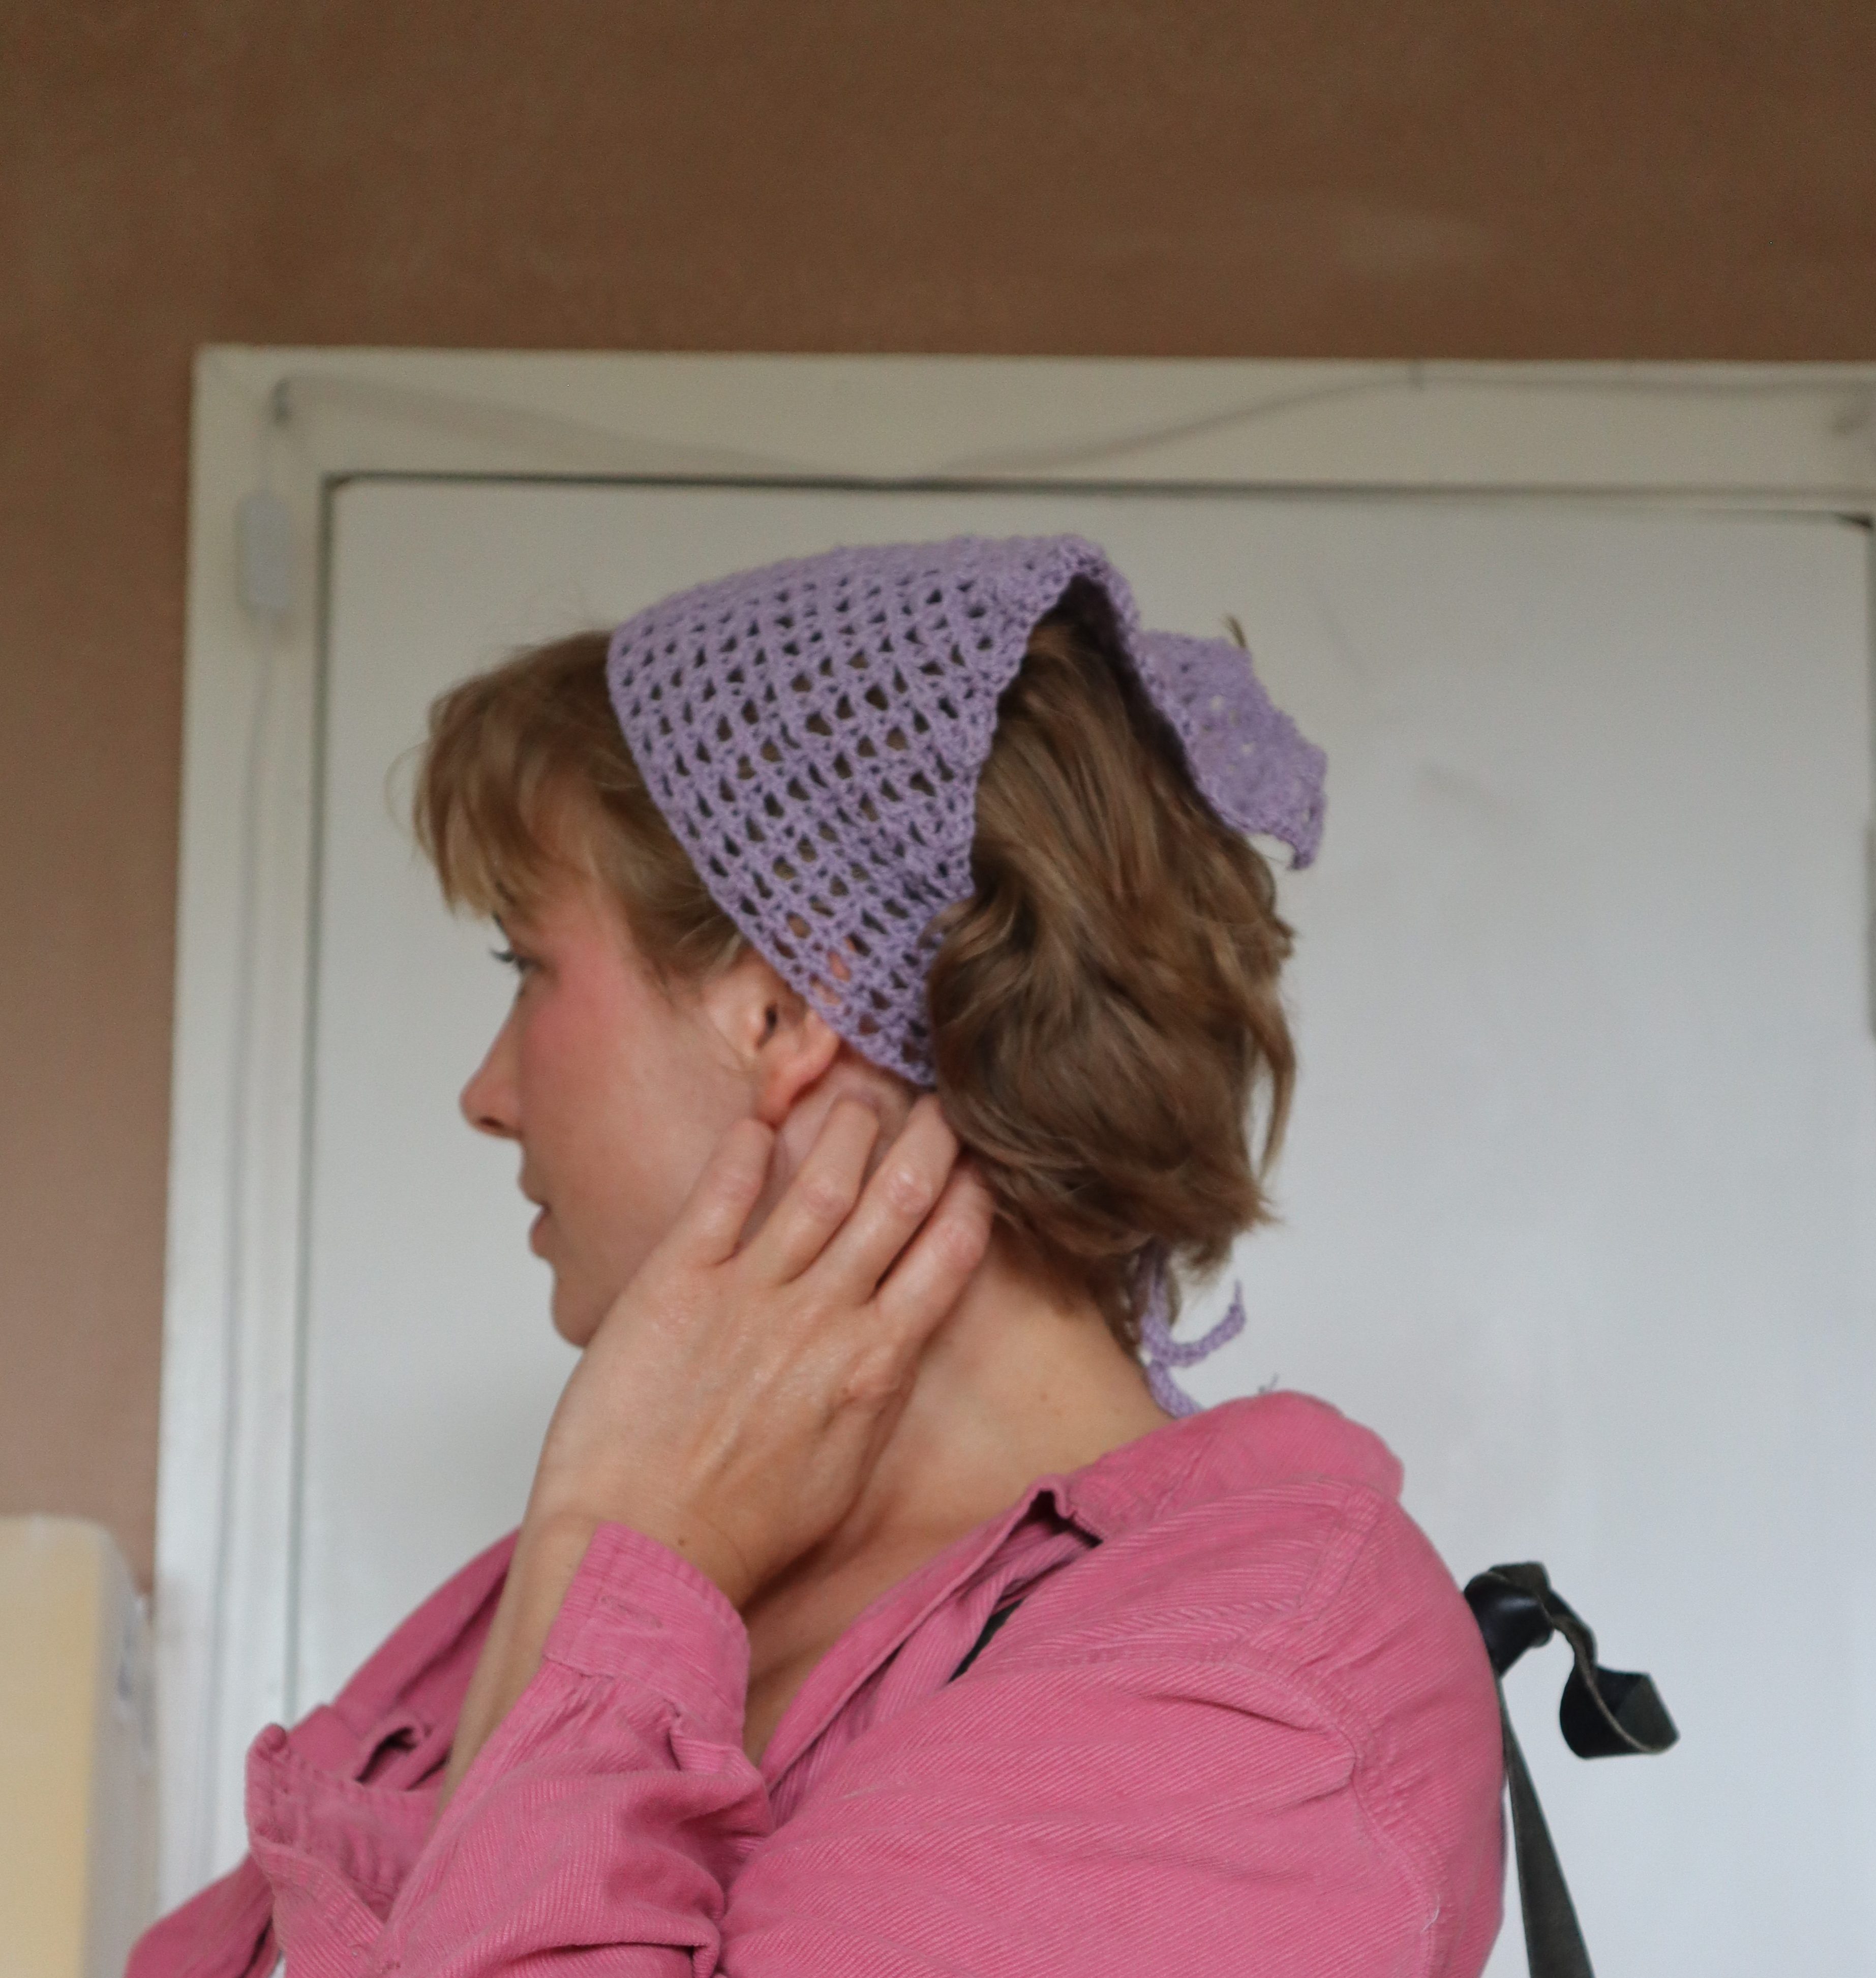
Free Pattern Crochet Bandana with Unique Mesh Stitch

See more free crochet patterns here

Here is a free simple pattern on how to crochet an easy bandana with triangle shape and a crochet mesh stitch that I invented.

It’s a good idea to measure on your head as you go – stop the increases and continue with no increase rows, when you have the width you want. Mine suits about a 56 cm head cirumference.

If you are able to, you can donate small or big amounts to say thanks for the pattern, this way I can continue to share free patterns:

Hook: 3 mm
Yarn: Sport/fine, 50 g = 140 m. I used wool for a stiffer look, but you can use any yarn. 19 grams.
Stitch: Ternion stitch – but instead of making the stitches in the chain (between the dc) you make them into the sc.
See tutorial here: https://www.youtube.com/watch?v=vDmk8zYBvU4
1 ternion stitch is made the following way: *1 dc, 1 sc into the side-loop of the dc, ch 1*
When it’s the last stitch in the row you finish with 2 ch instead of 1 (counting as the 2 turning chains).
Increase: By making 2 stitches in the first and last stitch on every 2nd and 3rd row all the way through.
After every row:
Ch 2. Doesn’t count as a stitch, first stitch is made in the last sc of the row before.

Crochet tube top pattern can be found here.

Each increase row is made in bold:

Row 1: Ch 2, make 2 ternion stitches into the 2nd ch from the hook, ch 2 at the end, turn.
Row 2: 1 ternion stitch in the first sc, 1 ternion stitch in the last sc, ch 2, turn.

Row 3: 2 ternion st in the first sc, 2 ternion st in the last sc, ch 2, turn (4 st on the row)
Row 4: 2 ternion st in the first sc, 1 ternion st in the next 2 sc, 2 ternion st in the last sc, ch 2, turn (6 st
on the row)

Row 3: 1 ternion st each of the sc on the row, ch 2, turn (6 st on the row)


Now repeat this pattern: 2 rows of increase where you inc with 1 extra st in the first and last sc stitch, followed by 1 row with no increase, until you have 29 rows. Now you make the one strap – don’t break off.

Get pattern for ribbed asymmetric crochet dress here.


Hook into the side of your row, yarn over, pull through. Yarn over, pull through 1 loop, yarn over pull through both loops. Hook into side of the stitch and repeat (sc chainless foundation).

See tutorial here:
https://www.youtube.com/watch?v=IKdFydreBjY&t=7s

Continue until you have 58 stitches, break off.

Insert hook where you started the strap and make a sc-edge (approx 1 sc per row) down to the bottom point of the scarf – make 3 sc in the point (your first row) continue sc and when you reach the opposite side make the same strap. Break off and weave in ends. Pull the edges to straighten the scarf.