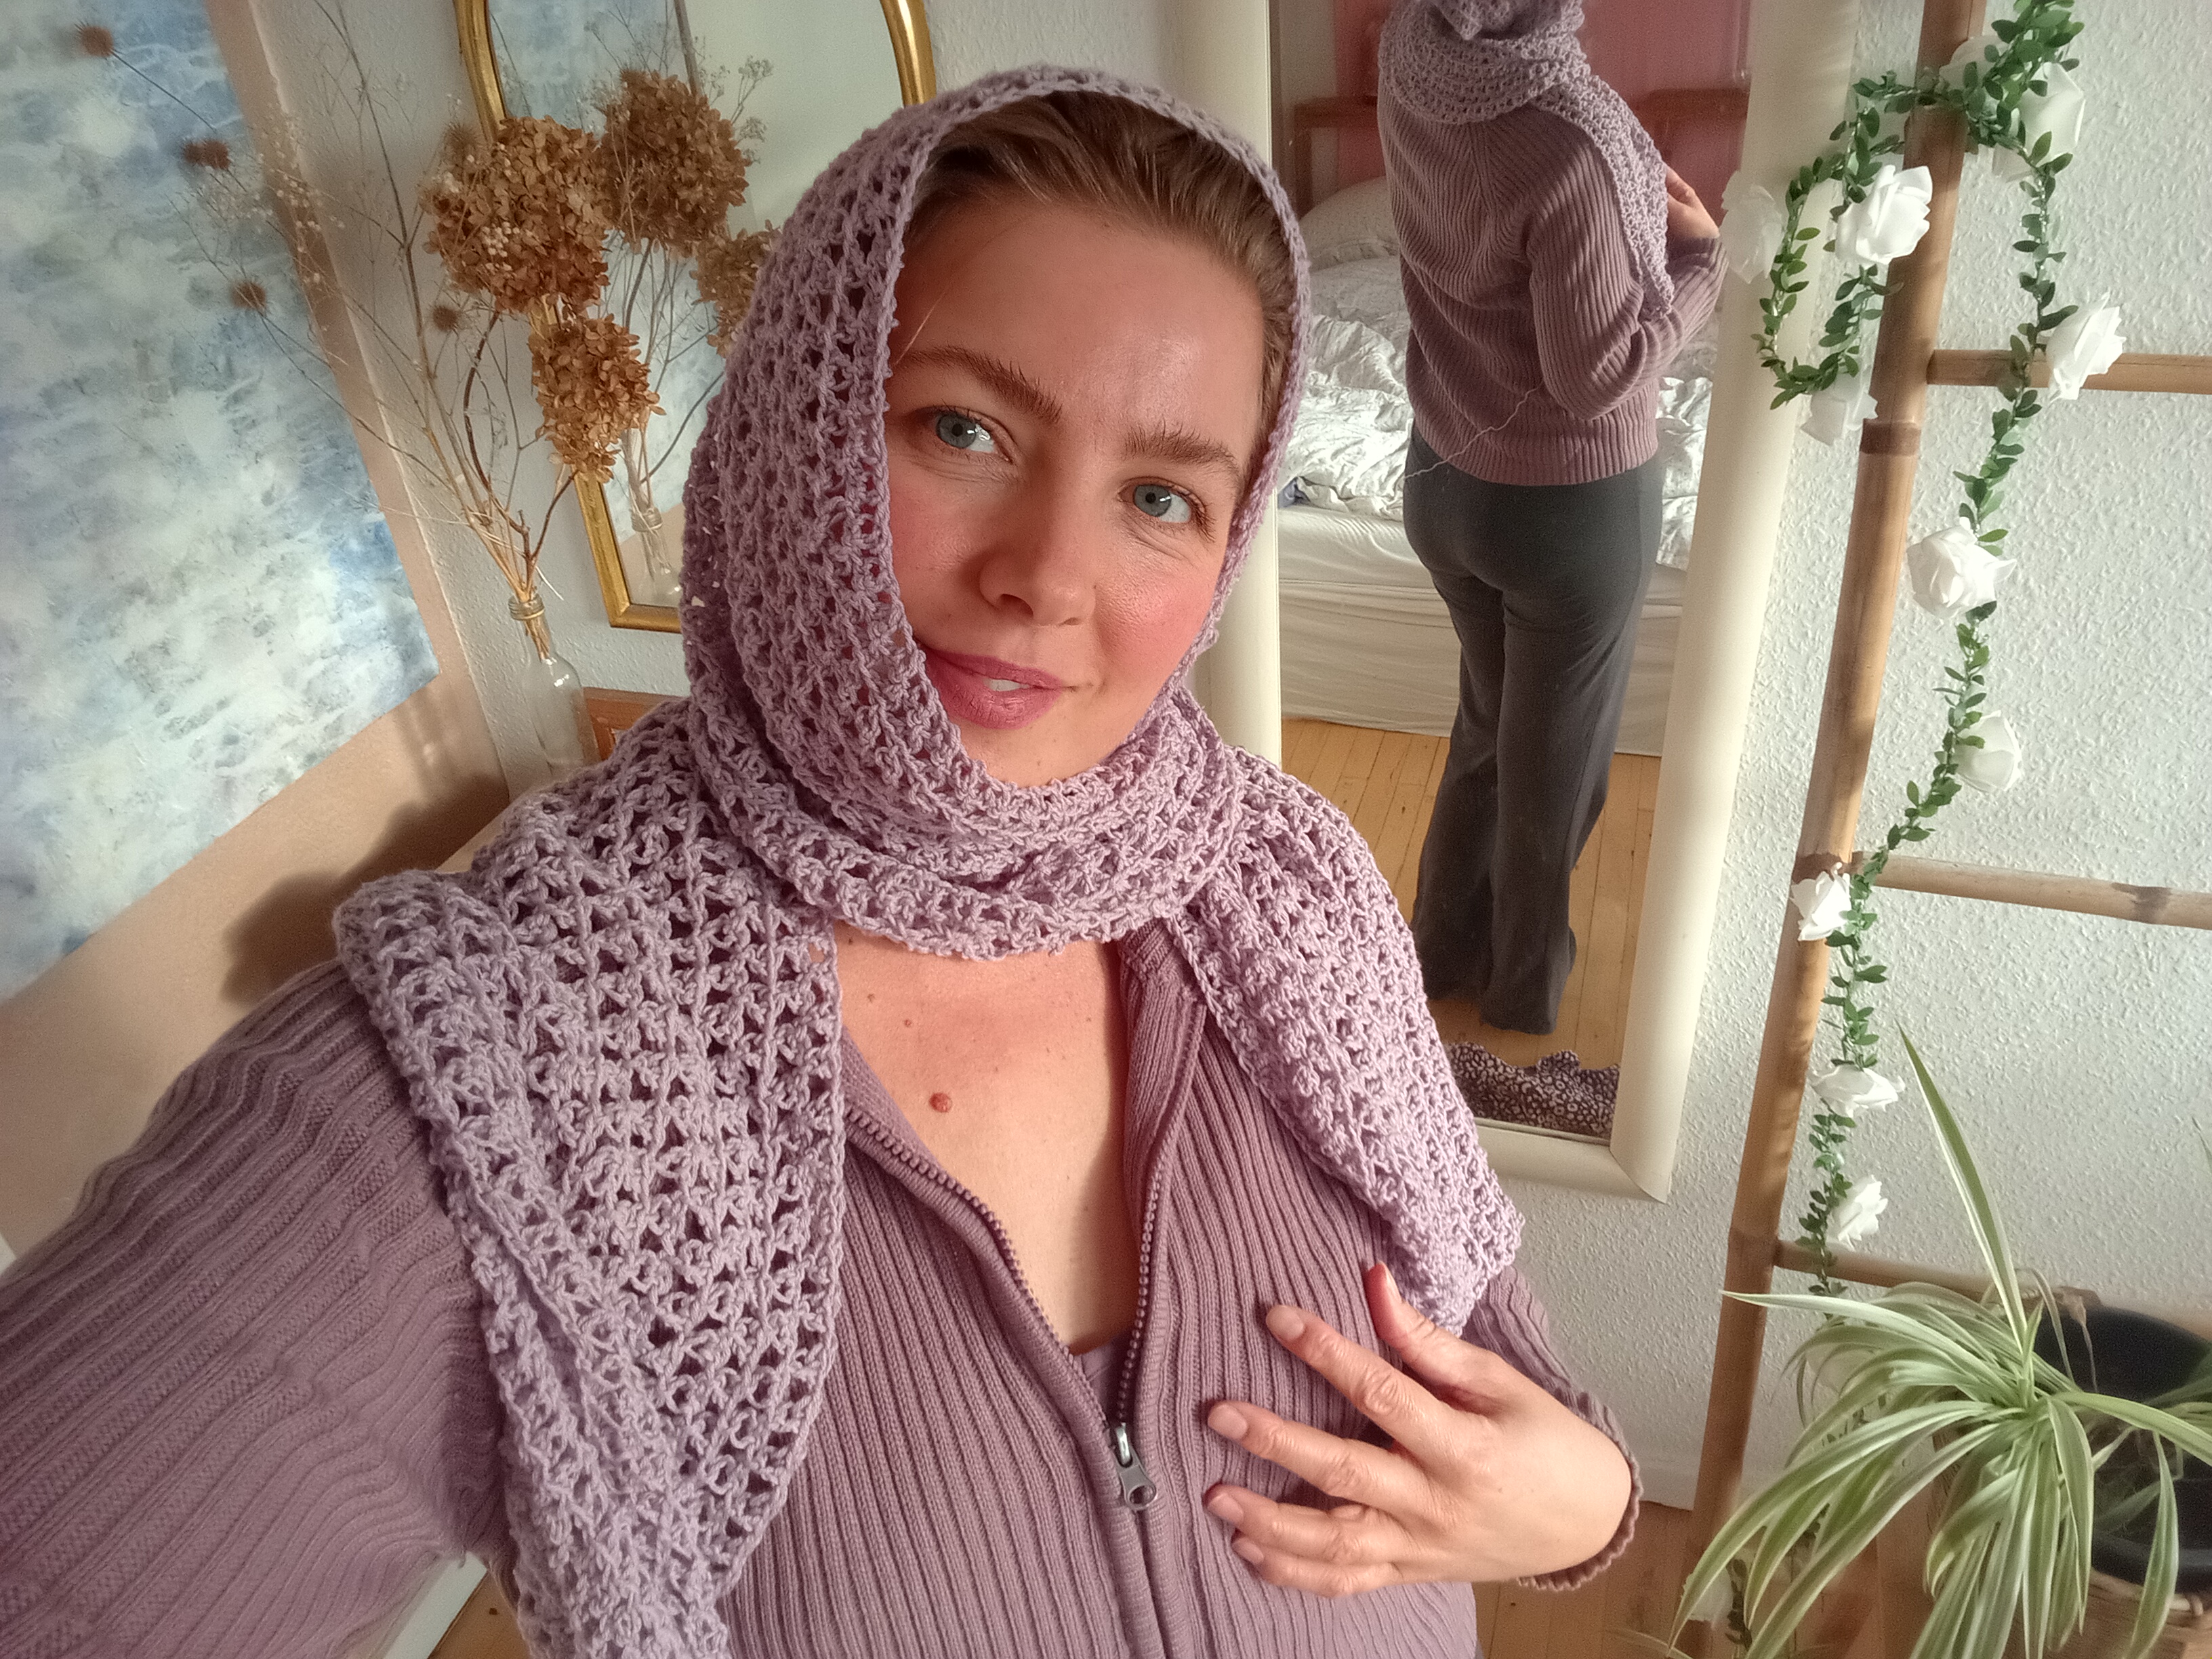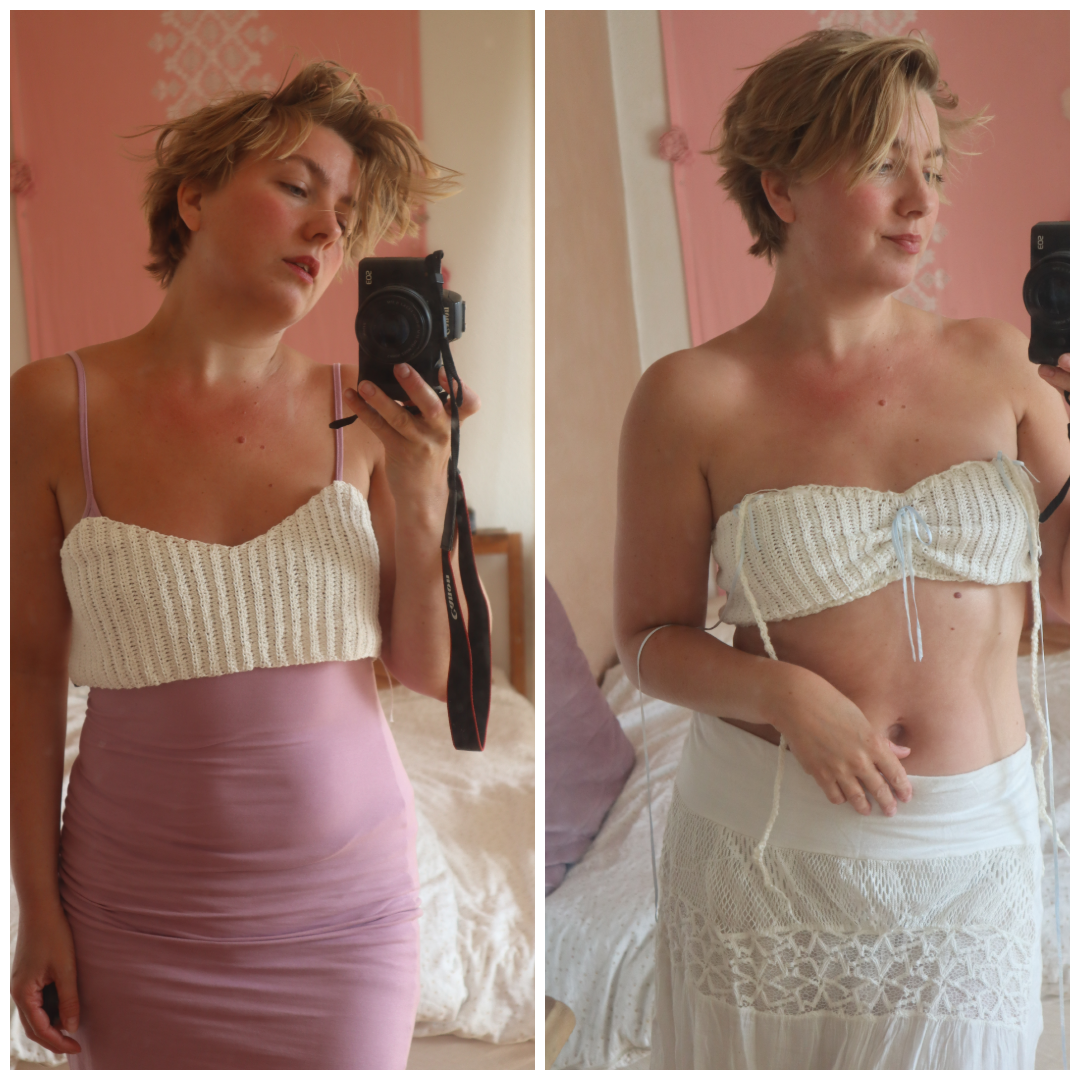
You will need to follow Zoey top in order to make this version, but you don’t need to subtract from your measurements. We need the extra fabric. I used the same yarn and hook as the pattern, but I also used some baby blue ribbon yarn and some white bouclé yarn for the edge – simply because I only had secondhand yarn. The bouclé added another shade of white and also a different texture, I liked that. For the top I even used two different shades of white – it’s okay – an imperfect top is just as beautiful.
The following is the process I made the top.
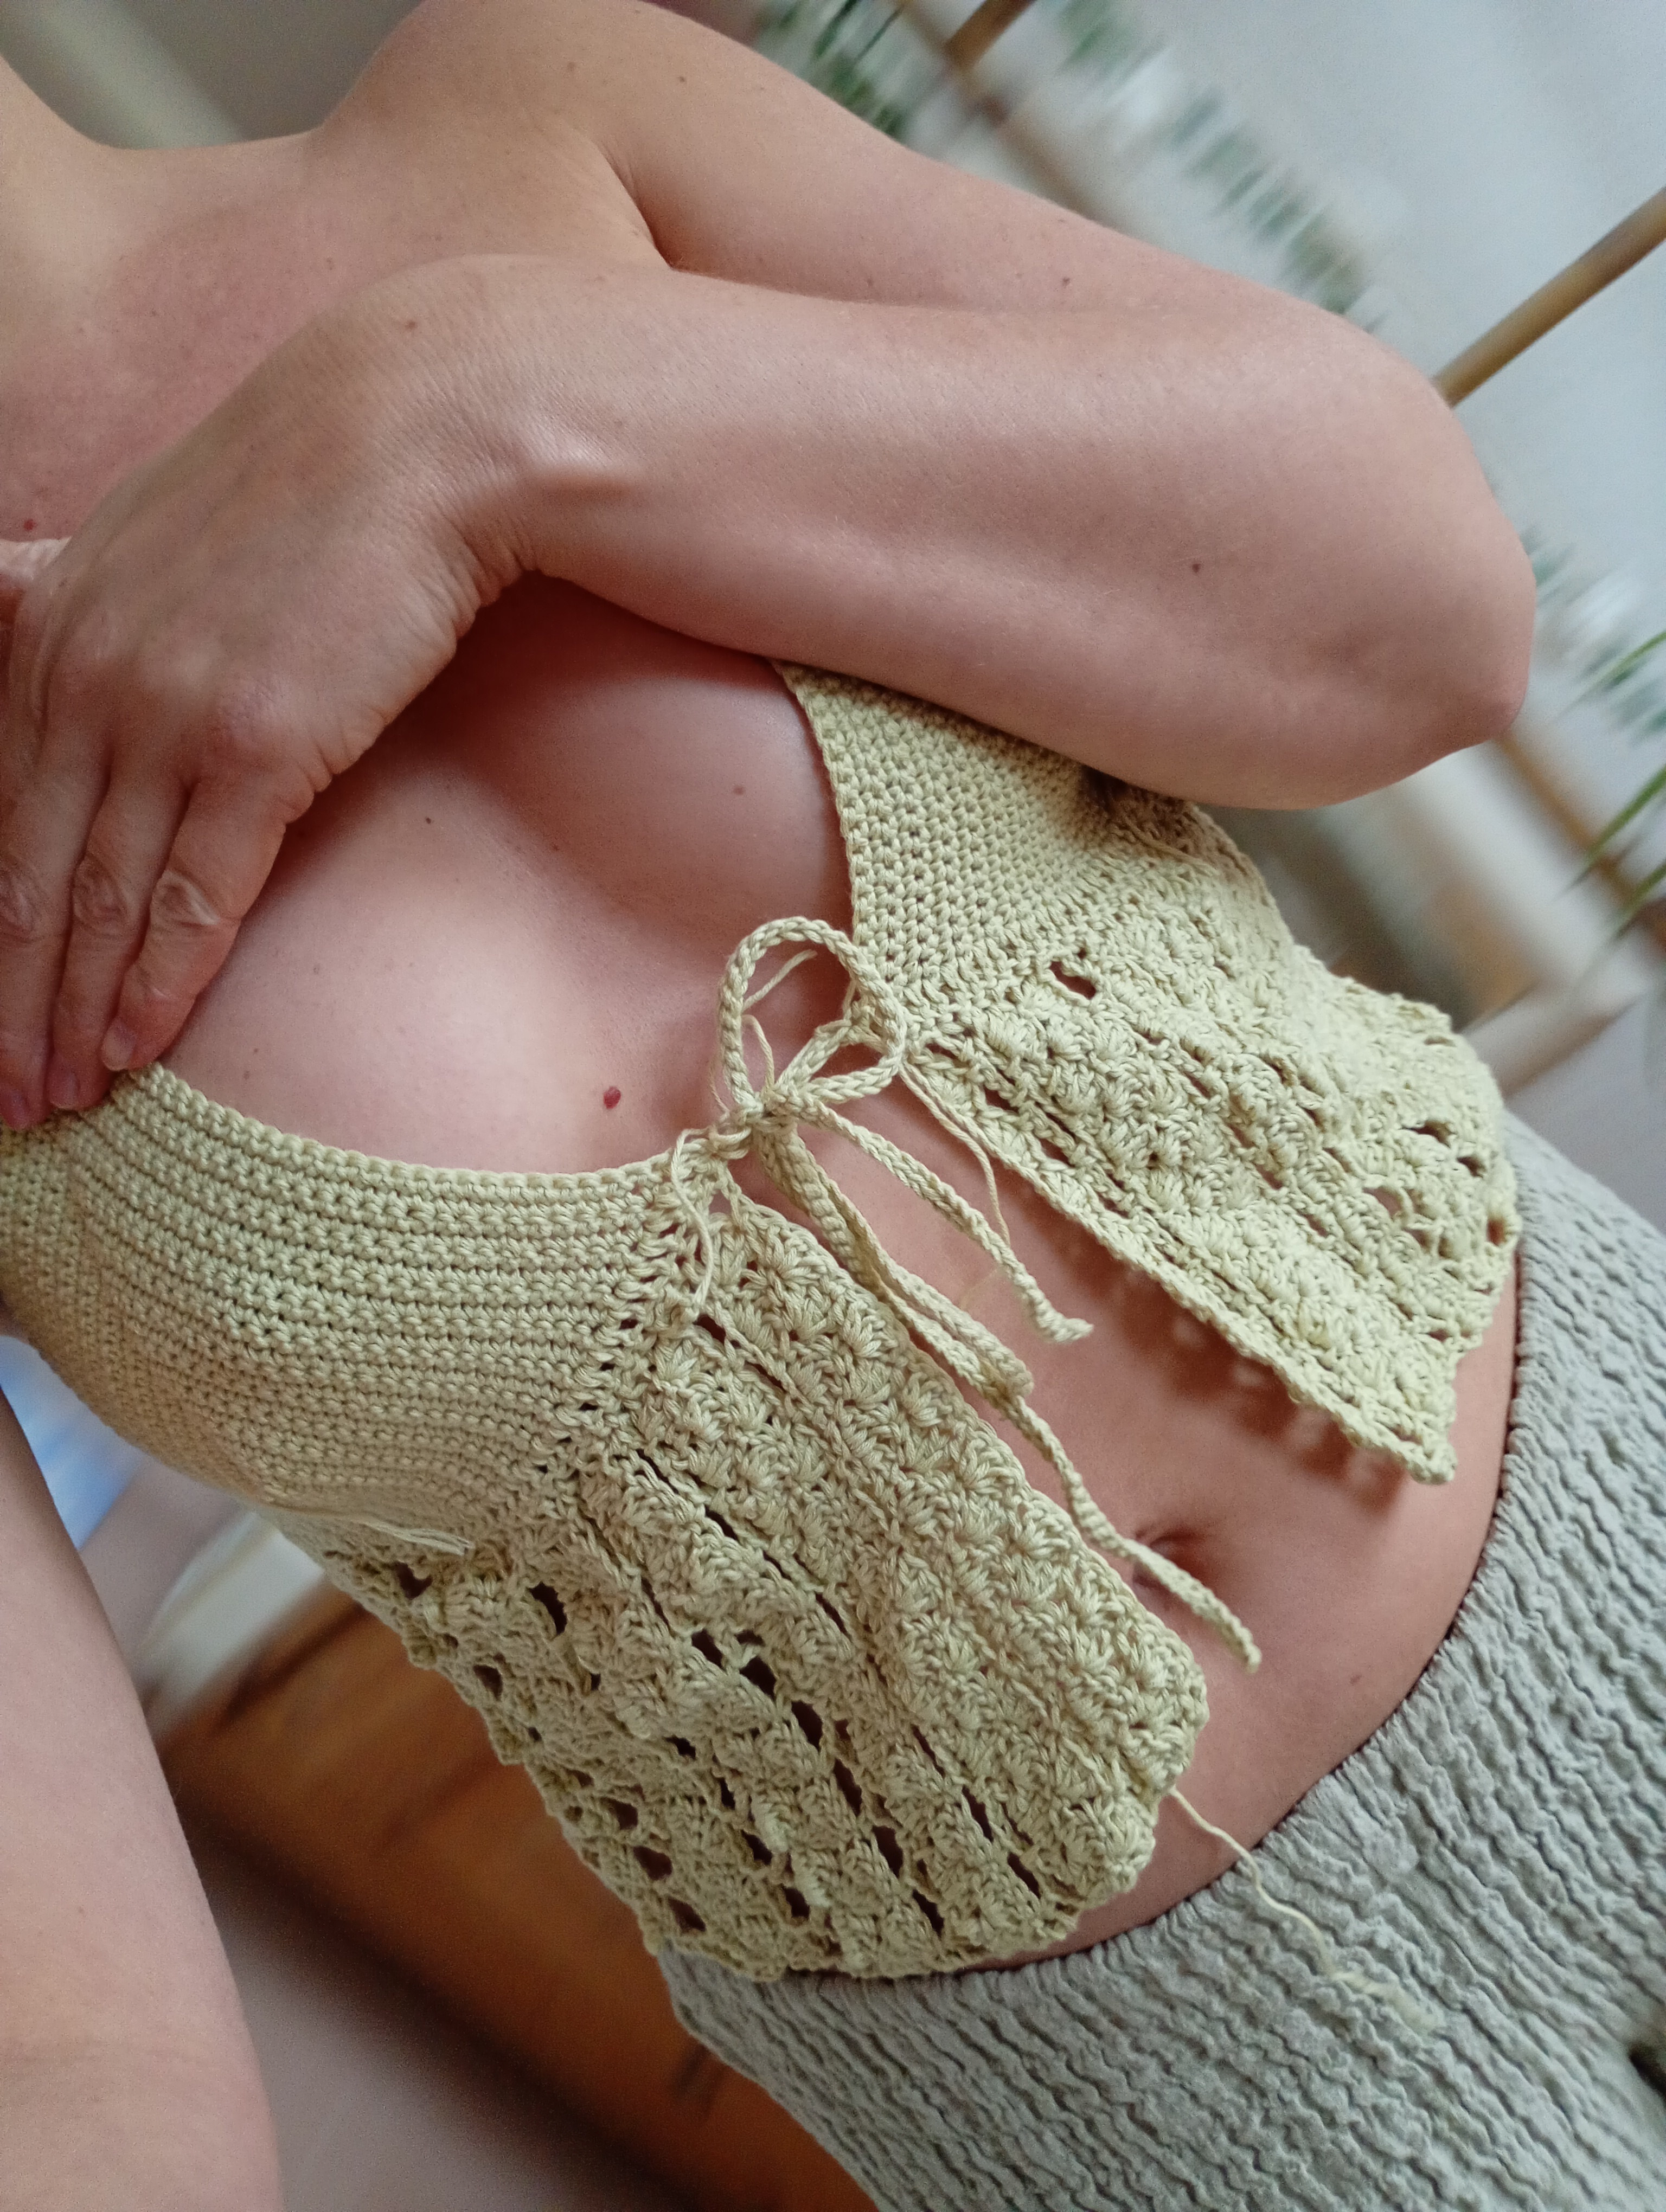
Now to make the ruffles & add the elastic:
Take 2 pieces of children’s elastic (0,5 cm wide), wrap it around your under bust and over bust, tie a knot – you want it to fit tightly, but comfortably – you can always tie another knot later on if needed (after the elastic is added).
Crochet a hdc edge around the top (top and bottom) by making approc 2 hdc per row (1 per row + 1 between each row) while crocheting around the elastic – see my video tutorials for reference.

The bows:
Find some ribbon yarn (or literal ribbon) then make two bows and sew them onto the front (the points of the top) Take 4 long strands – the longer the better – and sew them each to the inside of the top – on the front and back.
The straps:
Crochet a long straps using sc chainless foundation from each of the points of the top (in front of the ribbon/behind the bow) until you have enough length to tie the strap on the shoulder.
The front scrunch:
Take a long piece of ribbon and weave it through the front of the top – through two rows – parallel to each other (from the bottom and up) and tie them to a bow on the front of the top so you can scrunch the top together.
And you’re done!
(Bonus: embrace the imperfection of loose ends, and leave the ends of yarn from where you crocheted the straps).
If you like romantic crochet clothes, you might also like these patterns:
Products by Category
-

PDF: Mirabel top (ENG/DA)
kr.54.00 -

PDF: Belle Dress + VIDEO TUTORIAL (ENG/DA)
kr.54.00 -

PDF: Dahlia Top (ENG/DA/ES)
kr.54.00 -

PDF: Aurelia Top + VIDEO TUTORIAL (ENG/DA)
kr.54.00 -

PDF: June Dress (ENG/DA)
kr.54.00 -

PDF: Elsa Top + VIDEO TUTORIAL (ENG/DA)
kr.54.00 -

PDF: Liva Shorts (ENG/DA)
kr.54.00 -

PDF: Elisa Dress (ENG/DA)
kr.54.00 -

PDF: Daphne Pants + VIDEO TUTORIAL (ENG/DA)
kr.54.00