How to crochet a mini handbag with edging and magnetic button:
Hook: 3 mm Yarn: 2 strands of cotton, size 1. Link here (affiliate) Stitches: single crochet (sc) and half double crochet (hdc) Edging: 1 strand of cotton, size 1, 50 g = 160 m. Colors: light green, white and black 2 magnets.
1. Follow Josie bag pattern 2. Make 39 stitches and a total of 36 rows (incl. first and last) 3. The bottom corners are approximately 1 cm/2 rows 4. Close the sides so there are 6 rows more on the back 5. On the middle of the row (about 17 stitches in from each side) you make 5 hdc stitches and 5 rows. 6. The straps are: 4 hdc and 68 rows. 7. Sew them in place over half of the bag (approx. 8 rows) on each side. 8. Crochet an edge with sc in black yarn over the top edge of the bag, on top of the stitches on first row of hdc on the square (as seen on the last photo), as well as around the edge on the strap. 9. Finish with crocheting an edge on the bottom of the bag and up the sides. You crochet on top of the stitches by folding the bag and crocheting around or on top of the stitches or loops. 10. Finally sew a press on button or magnetic button onto the inside of the square and the same place on the bag so it matches. Now you can weave in the ends.
Follow the long version in the pattern for Mati mini scarf – use same yarn and hook recommended
Choose 2, 3 or 4 different colors – use them randomly and don’t cut them of, just bring them with you as you go
Instead of crocheting in the back and front loop, crochet through both loops.
Remove approx. 5 regular rows (no inc or dec) from the middle of the scarf as well as 8 regular rows from the beginning and end of the scarf, making the full scarf shorter in length
Finish by crocheting a single crochet edge – approx 1 sc per row, spread out – chain 1 and the point of the scarf to keep the pointed shape.
How to crochet a brushed cropped cotton sweater with square neck:
Hook: 5 mm and 6 mm Yarn: 1 strand of size 2/sport or 2 strands of size 1/fingering. I used 2 strands of size 1 (50 g = 160 m), I used 353 grams in total Stitches: half double crochet, single crochet for the edge (waist and wrists). Ch 1 and turn over after every row. You crochet through both loops.
1) Follow the pattern & guide for Doris sweater w. guide — I made mine cropped to just under the bust – make sure to measure the length over the bust to get the right length. 2) Use a 5 mm hook and start with a chainless foundation: first making sc for 7 cm (10 stitches), then switching to half double crochet. 3) When you have made the rows for the shoulder, mark the row to just over the bust (where you want the neckline to start). 4) Depending on where you are on the row either stop at the mark and crochet back or slip stitch until you reach the mark, then continue the row – this way removing stitches from the row where they neckline is. 5) Then continue in rows with no decreases until you only have the shoulder measurement left on the panel. 6) When you reach the end of the row (where the mark would be) chain until you have the same number of stitches as you removed at step 4. (+ 1 chain as turning chain) this way creating length again for the second shoulder. 7) For the other panel (back) you can either just make rows with no decrease at all or you can do the same as step 4, 5, 6 but only decrease by 3-4 cm. This way creating a few cm of shoulder on each side of the panel. 8) Slip stitch the panels together over shoulder and sides. 9) Make the sleeves with a size 6 mm hook – making the same stitches as the body – single crochet first and then half double crochet. 10) Join the sleeves and crochet them onto the sleeve opening – then brush the sweater with a soft brush (nail brush, pumice stone or dry brushing brush) – brush back and forth or in circles until you have the look you want.
How to crochet a top with off-shoulder straps and textured stitch:
Hook: 3 mm Yarn: Cotton, superfine/size 1. Link to a cheap yarn with lots of pretty colors here (affiliate).
Follow pattern for Florence top – but instead of sc use hdc stitches. The fit and drape will be different. You can of course also use sc as the pattern.
Here’s how to make the stitch, here shown in hdc
Finish the top as the pattern says, now measure your measurement over your shoulder – from armpit to armpit, see video here for guide to how to measure. Of course you can also try on the top as you go!
Now place your top flat as pictured above. Insert your hook in the side with a slip stitch and repeat the stitches for the body until you have the strap with you want.
Crochet back and forth until you have your measurement or until you have the length you want.
Slip stitch into the opposite side of the top, repeat the same with the other side.
How to crochet a striped halterneck textured dress with low-cut back and back strap:
Hook: 6 mm Yarn: BLUE: 2 strands of superfine/size 1 cotton (50 g = 169 m), OFF WHITE: 2 strands of superfine/size 1 in Tencel/Lyocell yarn (50 g = 141 m) and GREEN: 1 strand of size 3/DK/worsted cotton, viscose and linen blend (50 g = 120 m). LINK TO YARN: Click here, hereand herefor yarn + yarn alternatives (affiliate) I used 355 g for my size M/L.
Stripes: The stripes are made randomly. I change color the following way: on the last stitch of the round I switch colors before pulling the yarn through for the last time. Make sure to mark the start of your round to know when to change color.
SKIRT
1. You will need to follow the pattern Olivia dress to make this. Follow the pattern and see my measurement example in the pattern. Make sure to always try the first row around your hip to see how it fits.
2. The stripes are made randomly – a good tip: alternate between the colors and make 1 or 2 rows of white between the darker colors – this will make it stand more out and blend less into each other. I did not break off the yarn, I just left it and picked it up whenever I needed that color. You still crochet in the same direction, just make sure to mark the beginning of your round so you know when to change color.
BACK OPENING
3. For the back opening you will need to break off the yarn (you only need to do this if you make stripes, otherwise follow the pattern).
4. Place the dress so the beginning of the round is on the side, this way it will be less visible on the front/back. Then mark out the measurement for the back on the middle of the round.
5. Insert your hook with 1 slip stitch and 1 chain from the wrong side in your first mark and make the back.
6. Try on the dress, when you reach the middle of your bust, make twice as many decreases than before.
7. Continue until you reach your collarbone/neck. Finish with 1 row of hdc in white (or the color you want) Now chain for the strap.
STRAPS
8. Chain 70, ss back over the chains. Crochet hdc down the side, over the back opening and up to the other side, chain for the second strap and break off the yarn.
9. Insert your hook with 1 slip stitch in the edge of the back opening (around where your waist would be or below your bust, depending on what you prefer – try on the dress and hold it how you want it to be tied).
10. Tightly chain until you have about 80-100 chains. I only used 1 strand of superfine/size 1 yarn – but you can also make the strap thicker by using two strands.
11. That’s it! Remember to tag @mati_denmark and hashtag #OliviaDress if you share photos of your creation on social media!
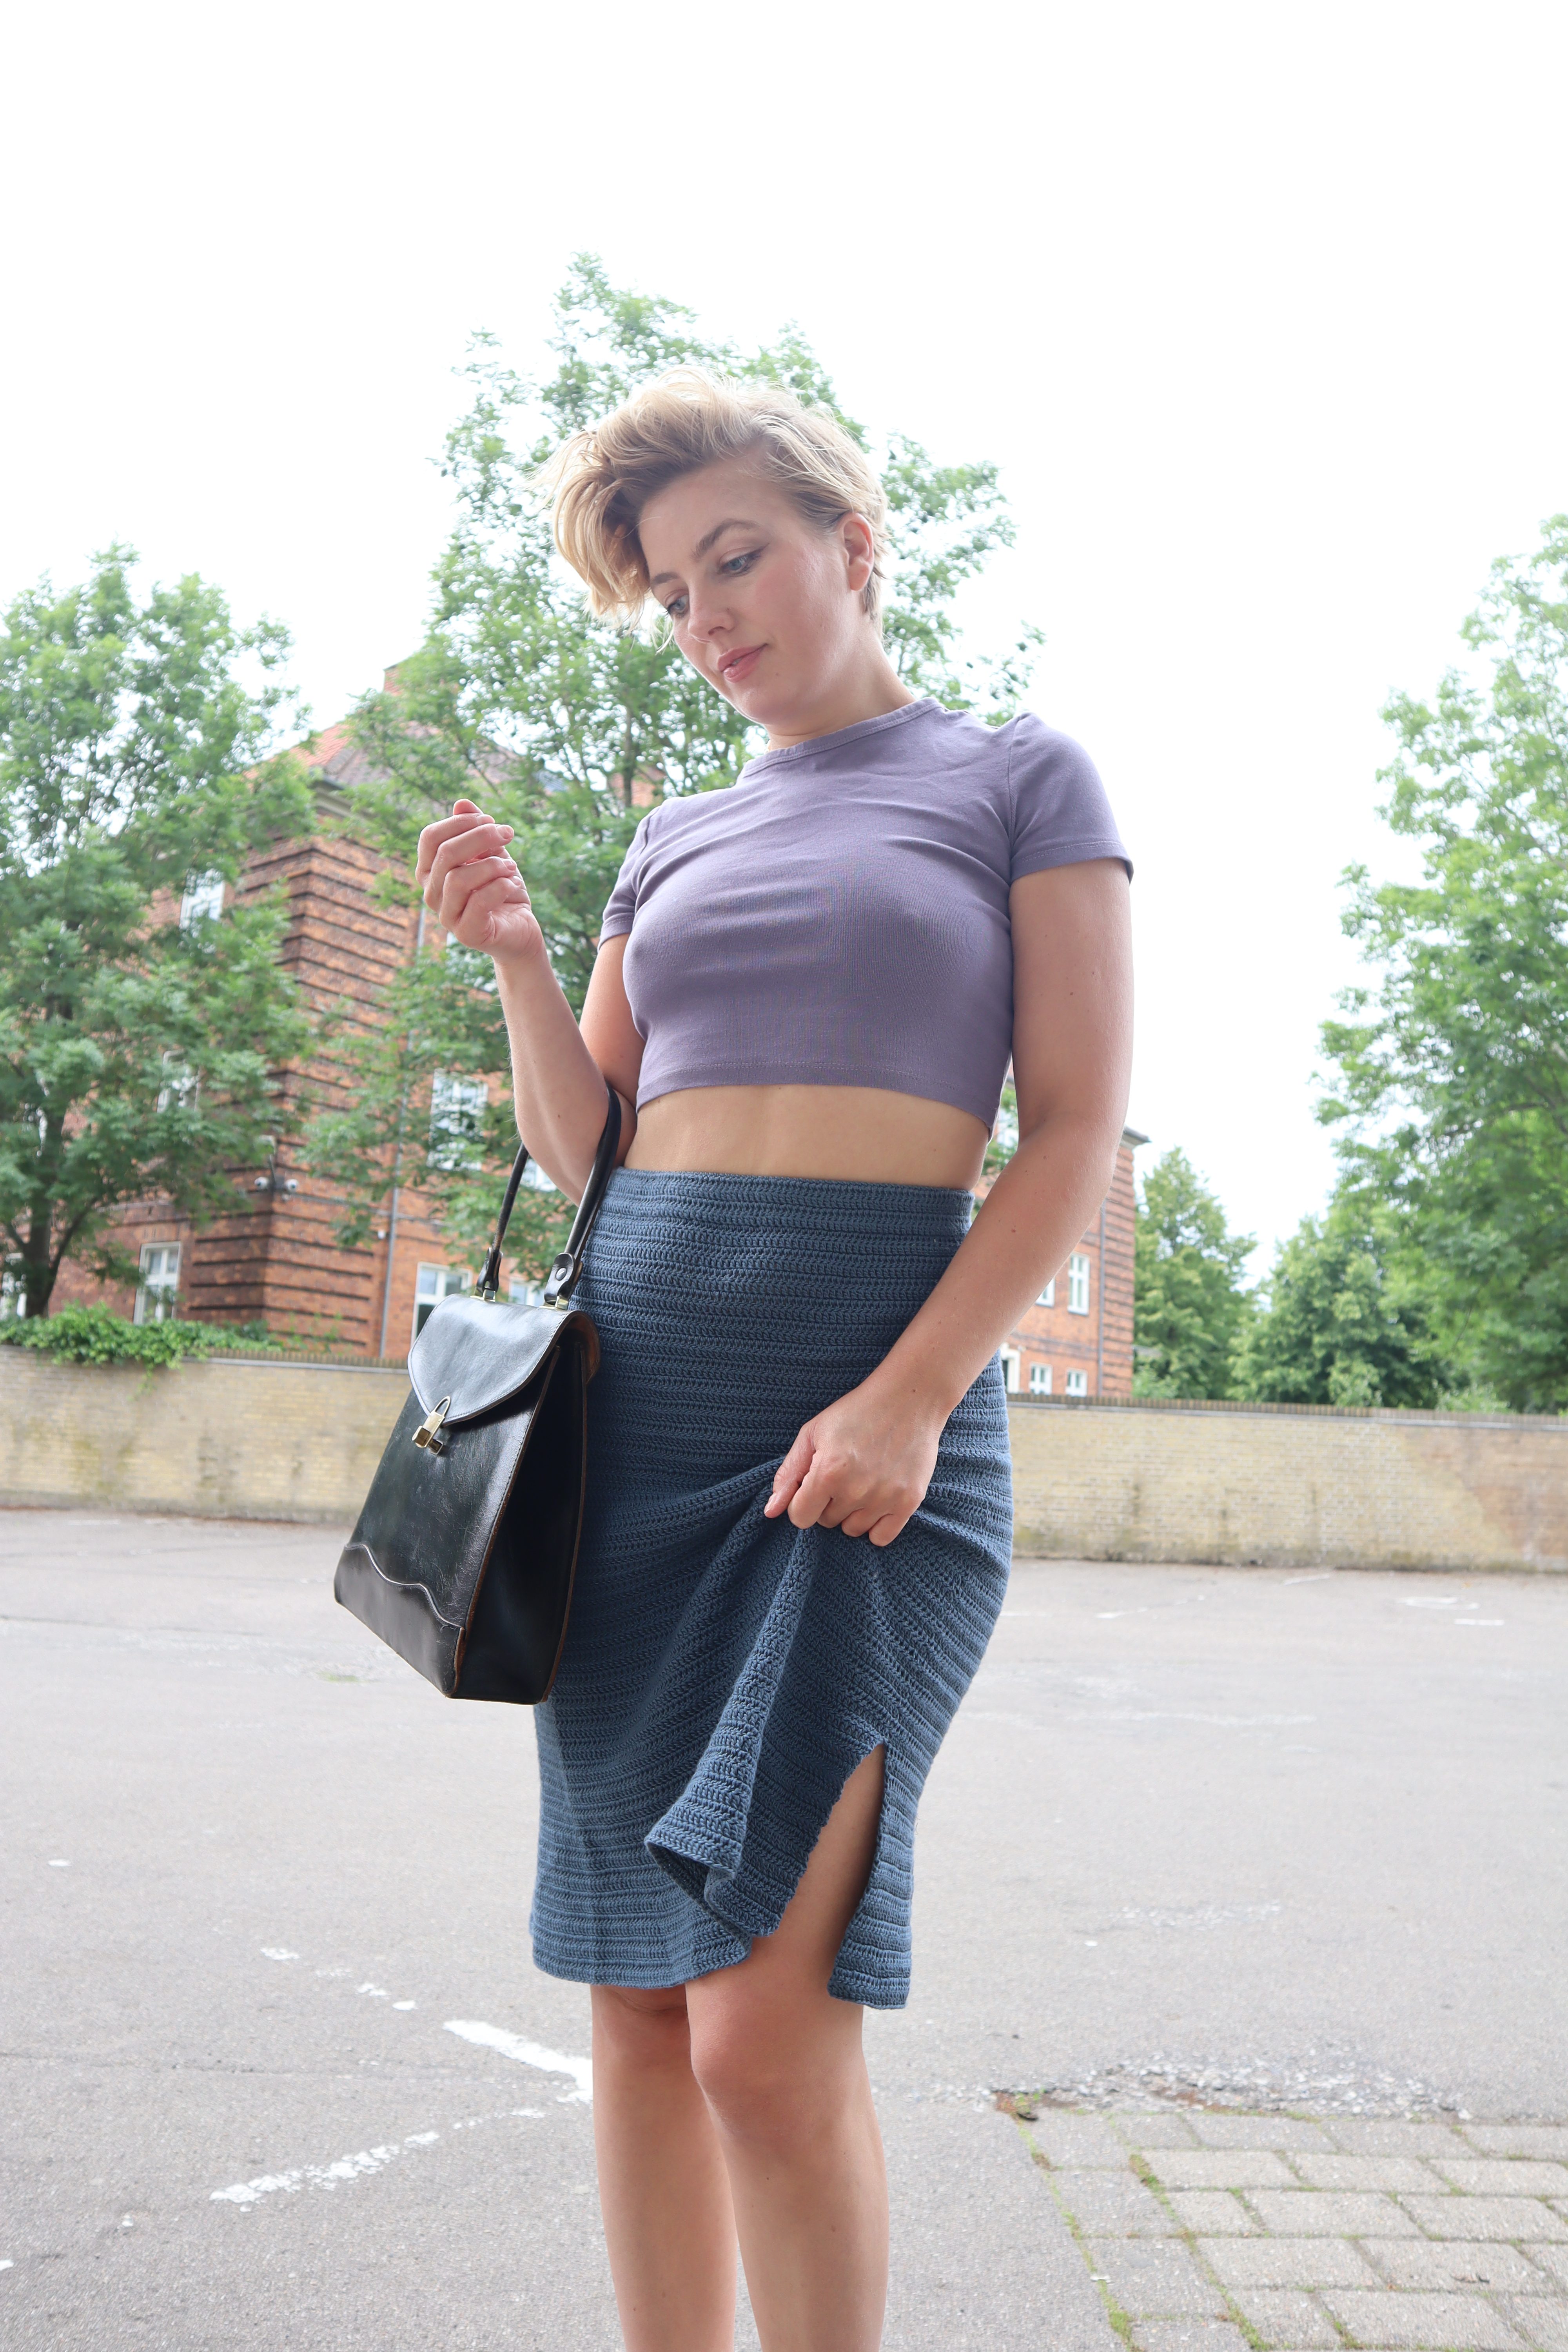
Hook: 3 mm Yarn: 100% lyocell yarn. Size 1/superfine. Brand: Tencel – feel so nice. Bought at Kvickly. 50 g = 141 m. Stitches: Double crochet
Follow the pattern for Keri skirt but use double crochet instead.
When you reach the beginning of your slit, increase twice as often, with the same number of stitches as the pattern states. Thereby making double the amount of increase to get a more flared skirt.
Finish the skirt as the pattern states with the elastic waist band.
Other crochet patterns with tencel yarn that you might like:
How to crochet chunky shorts with drawstring waist:
Hook: 6 mm Yarn: Size 4/aran/worsted. Find yarn here (affiliate) Stitches: Single crochet in back loop and half double crochet.
Follow the Ellie shorts pattern and use the same measurements as describes. I made mine short – but just make sure the full length is longer than the crotch length.
When doing the decreasing on the crotch and the hips, you are going to decrease less. I decreased about half as many stitches per row than the pattern says. Sometimes I only decrease 1/3.
As the pattern is quite intuitive it won’t matter if you on some rows make less decreases than on others – just as long as front and front have the same stitches when you end the panel (and back and back have the same stitches at the end of the decreasing).
For the waist. You are going to make half double crochet stitches through both loops. I made approximately 1-2 hdc per single crochet row – but just make sure to spread them out so you are not increasing on the waist band.
You do the same as in the pattern, but you don’t insert elastic at the end – just make a small opening inside the waistband so you can insert a waist tie.
Sew the waistband close and then use a safety pin to weave the waist tie into the waistband.